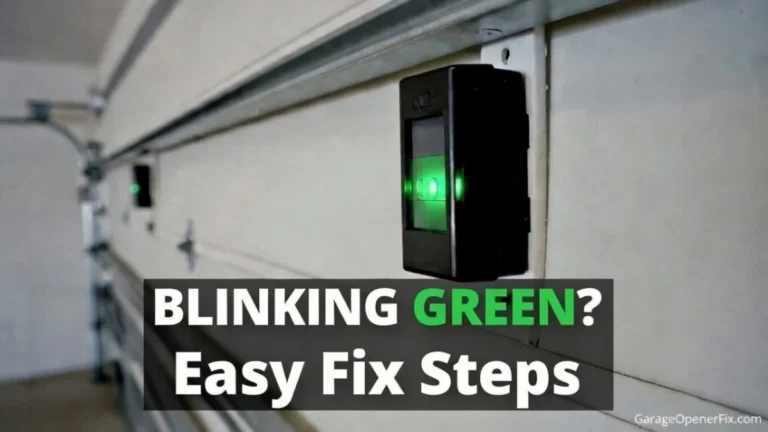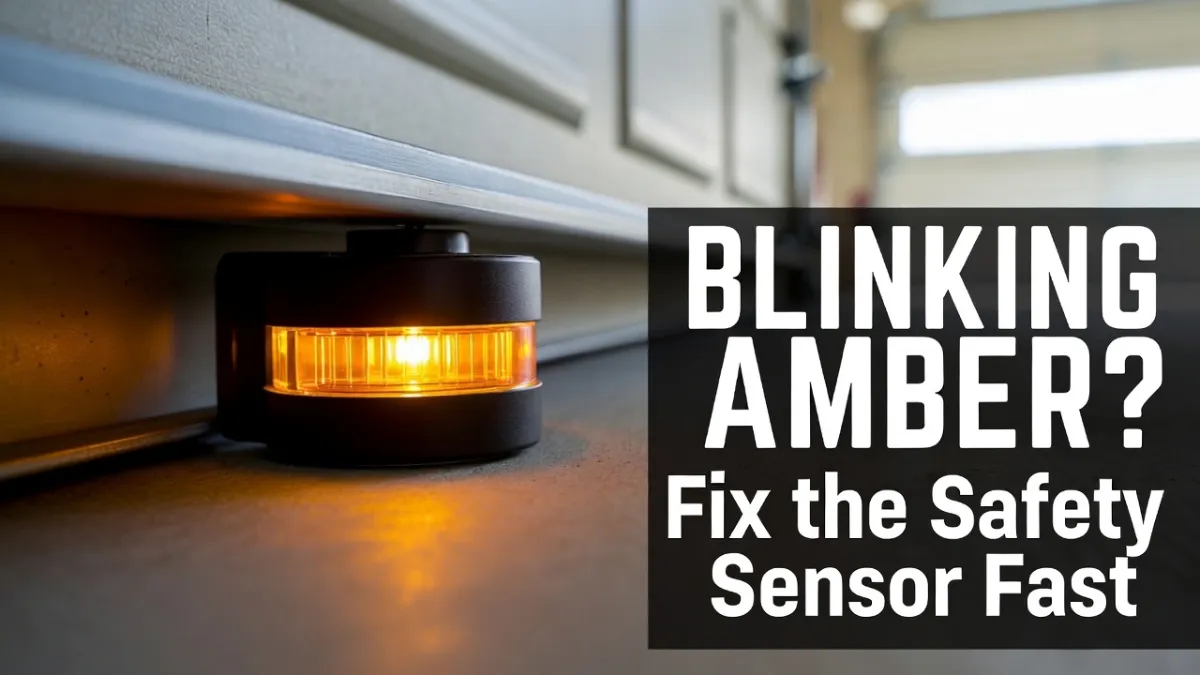
Garage Door Safety Sensor Blinking Amber (Yellow): What It Means + Step-by-Step Fix
If your garage door won’t close and you notice a blinking amber (yellow) light on one of the safety sensors, you’re dealing with a very common issue: the photo-eye safety beam isn’t being completed consistently.
The good news: in many cases, the fix is simple (alignment, cleaning, or an obstruction). This guide walks you through safe troubleshooting steps you can do in minutes.
Safety note (important): This article covers safe troubleshooting (cleaning, alignment, basic checks). Do not attempt repairs involving springs, cables, or door hardware under tension—those can be dangerous. If you’re unsure at any point, call a garage door professional.
What does a blinking amber/yellow sensor mean?
On many garage door opener systems (especially common in the U.S.), the two sensors work like this:
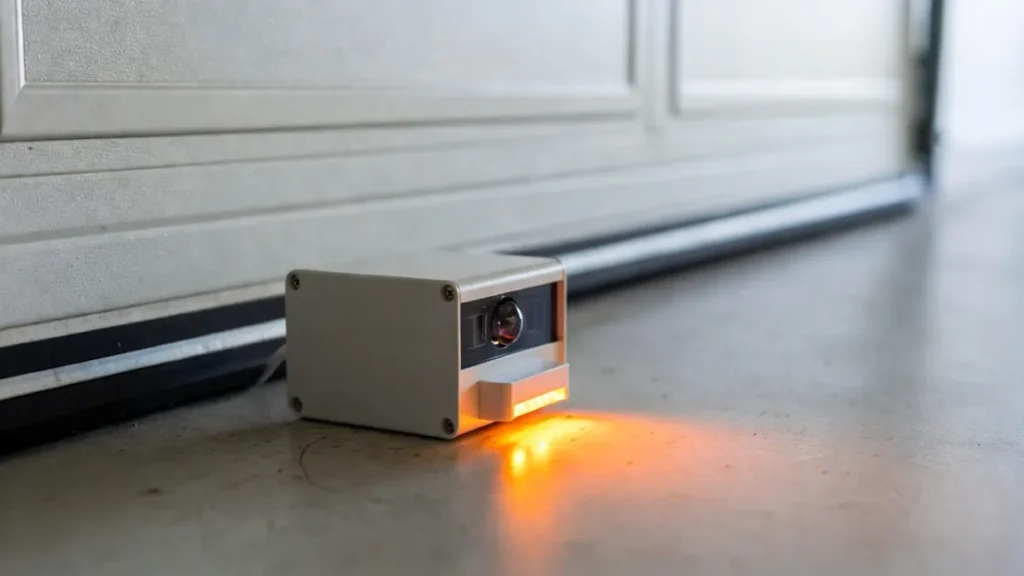
- Amber/Yellow light = usually the sending sensor (it emits the infrared beam)
- Green light = usually the receiving sensor (it must “see” the beam)
So if the amber/yellow light is blinking, it often indicates one of these:
- the sensor is not stable (loose bracket/vibration)
- the beam is interrupted (object, dirt, spider web)
- alignment is off (sensor moved slightly)
- wiring is loose/damaged
- the sensor itself is failing (less common, but possible)
Note: Light colors and behaviors can vary by brand/model. Some systems use red/green or different patterns. Still, alignment/obstruction/wiring are the most common causes across brands.
Symptoms you may notice (and why it happens)
You’ll usually see one or more of these:
- Garage door starts closing then reverses
- Garage door won’t close unless you hold the wall button
- Opener light flashes when you try to close
- One sensor is solid, the other is blinking
- Sensors work sometimes (morning) but fail later (sunlight issue)
This is all tied to the same safety feature: if the opener thinks something is in the way—or it can’t confirm the beam—it refuses to close the door normally.
What you’ll need (simple)
Most fixes require no special tools. Helpful items:
- Microfiber cloth (or soft towel)
- Mild glass cleaner (optional)
- Small screwdriver (only if you need to tighten brackets)
- A piece of string (optional alignment trick)
- Tape measure (optional)
Time: 5–20 minutes for most cases.
Step-by-Step Fix: Blinking Amber/Yellow Safety Sensor
Step 1: Make sure nothing is blocking the beam
Start with the obvious checks:
- Remove anything near the bottom of the tracks: storage boxes, trash cans, tools
- Check for small stuff you might miss: leaves, mulch, a kid’s toy
- Look for spider webs or dust buildup directly in front of the sensor “lens”
Even a small obstruction can break the beam.
Step 2: Clean both sensor lenses (gently)
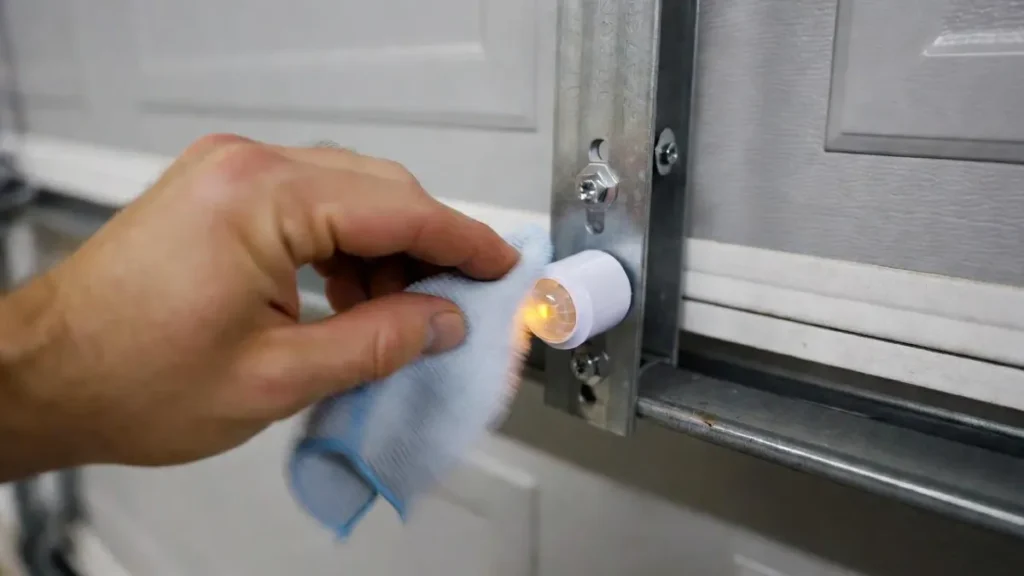
Dirty lenses can weaken the beam enough to cause blinking.
- Use a dry microfiber cloth first.
- If needed, lightly dampen the cloth or use a tiny bit of glass cleaner on the cloth (not sprayed directly on the sensor).
- Wipe both sensor “eyes.”
Avoid: abrasive pads, heavy chemicals, or soaking the sensor.
Step 3: Check the sensor lights (this tells you what to fix)
Stand inside the garage and look at both sensors:
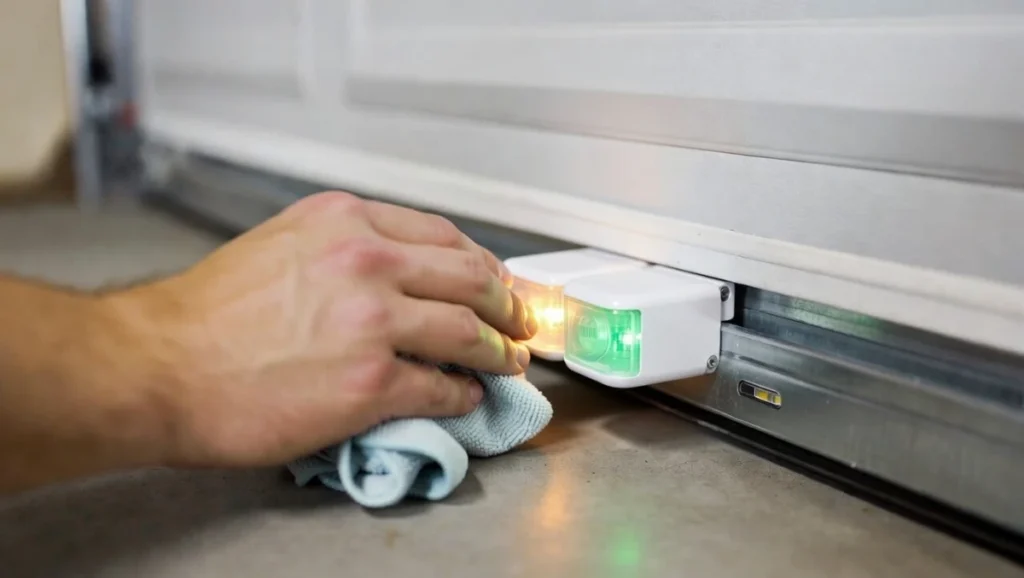
- If the receiving sensor light (often green) is blinking or off, it’s usually alignment/beam issue.
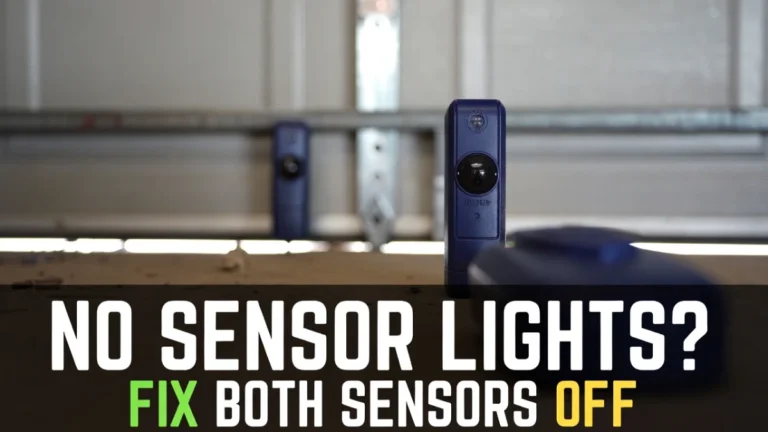
- If the sending sensor (often amber) is off, it may be power/wiring.
- If both are blinking, alignment or wiring is more likely.
Goal: On most systems, you want steady (solid) lights on both sensors.
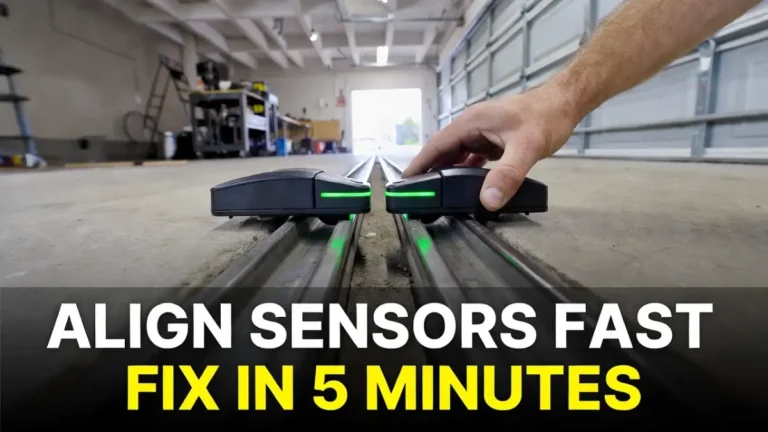
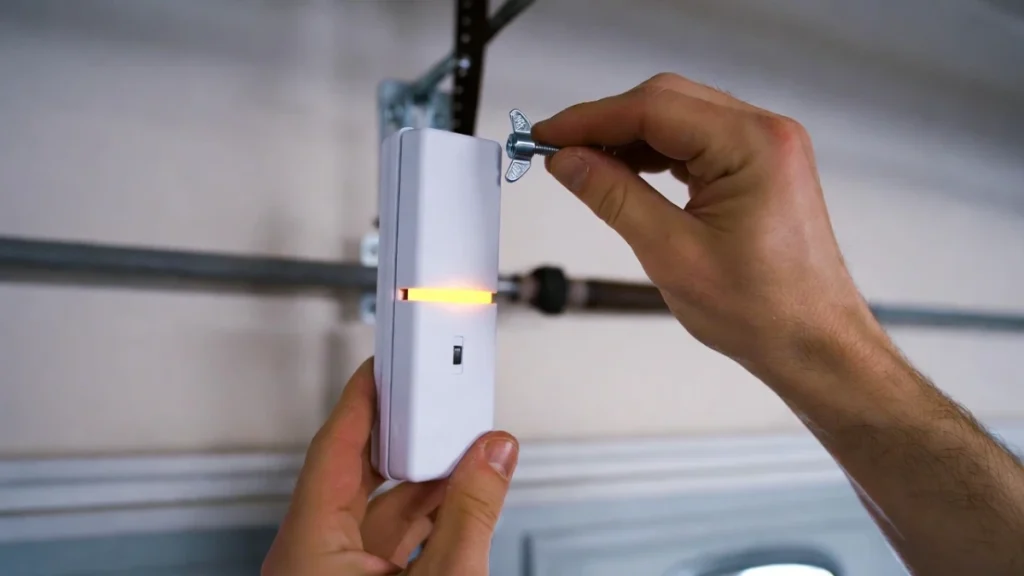
Step 4: Align the sensors (the most common fix)
Sensors can get nudged by:
- a broom
- a bike tire
- vibrations from door movement
- accidental bumps
How to align (easy method):
- Look at both sensors and confirm they point directly at each other.
- Loosen the wing nut/screw just enough so the sensor can move slightly.
- Slowly adjust the sensor until the blinking becomes solid.
- Tighten the hardware carefully without shifting the sensor again.
Pro tip: If you can’t get it to stay solid, the bracket may be loose or bent—see the next step.
Step 5: Tighten loose brackets and check vibration
Sometimes the sensor is aligned, but the mount is unstable. The door shakes slightly and the sensor loses alignment, causing blinking.
- Wiggle the sensor gently by hand.
- If it moves easily, tighten the bracket hardware.
- If the bracket is bent, straighten it carefully (or replace it if needed).
After tightening: test the door open/close cycle again.
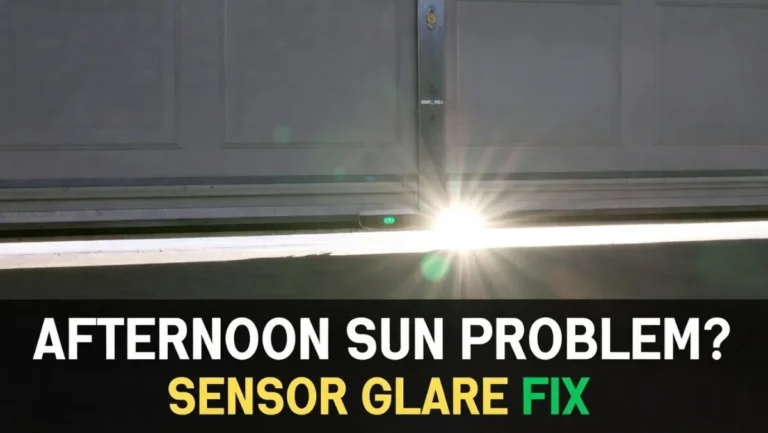
Step 6: Check for sunlight interference (very common “random” blinking)
If the problem happens at a specific time (often afternoon), direct sunlight can interfere with the receiving sensor.
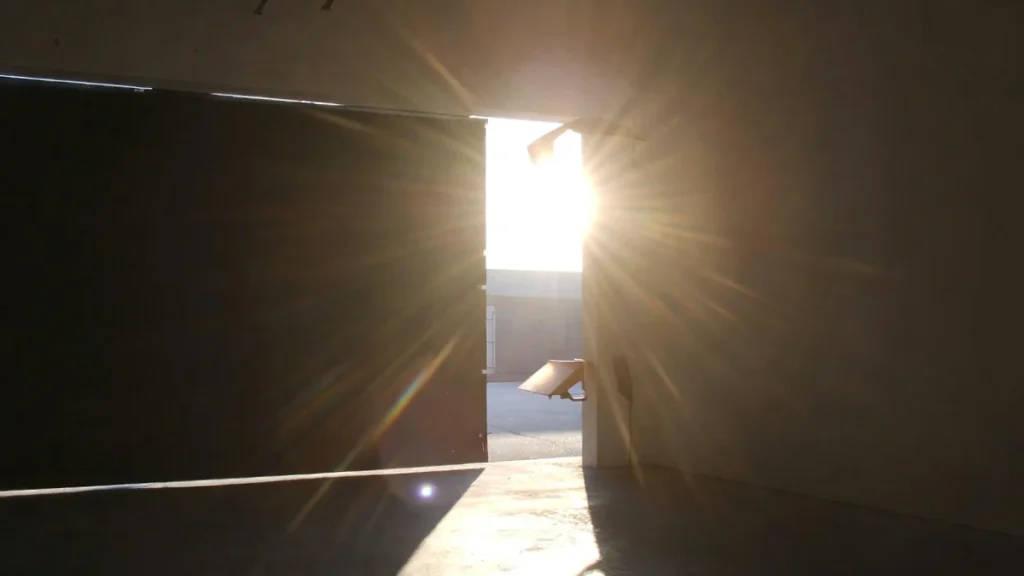
Signs it’s sunlight-related:
- sensors work fine in the morning/evening
- blinking starts when sunlight hits the sensor area
Fix options:
- Shade the sensor using a small piece of cardboard/plastic as a “visor” (don’t block the lens)
- Slightly reposition the sensor angle (tiny adjustments can help)
- Consider replacing the sensor with a compatible newer set if sunlight sensitivity is severe (advanced step)
Step 7: Inspect the sensor wires (safe visual check)
If alignment and cleaning don’t fix it, check wiring.
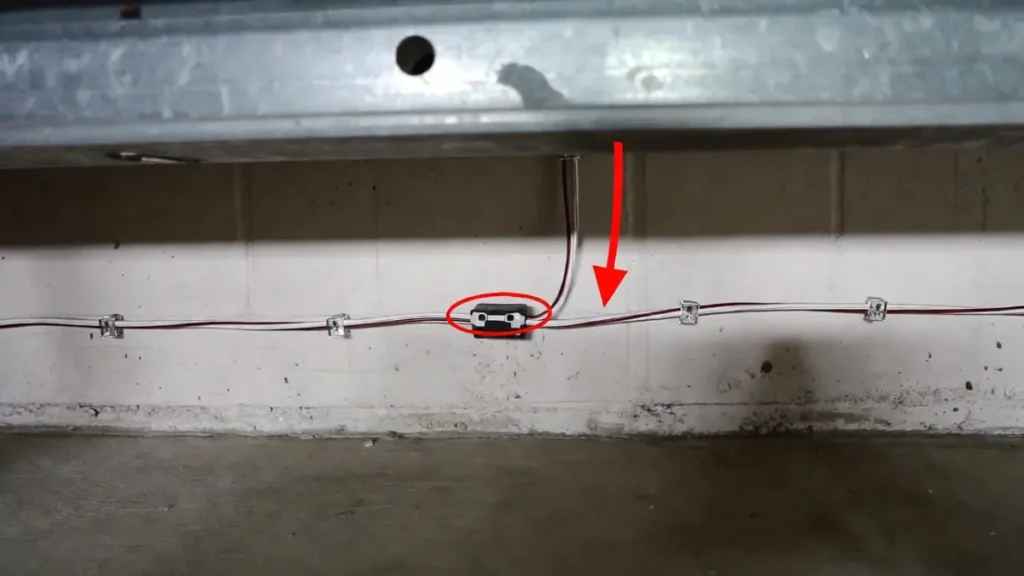
Safe checks you can do:
- Look for pinched wire near the bottom track area
- Look for staple damage (staples can pierce the wire)
- Check for obvious cuts or chew marks (pets/rodents)
What to avoid: If you’re not comfortable, don’t open the opener housing or do electrical work. Call a pro.
Step 8: Re-seat loose wire connections (only if you’re comfortable)
If you can see the low-voltage terminals (often on the opener motor unit or wall control area) and they’re accessible:
- Unplug the garage door opener from the power outlet.
- Gently check that the sensor wires are seated firmly.
- Plug it back in and re-test.
If you’re unsure, skip this step and get help—wiring mistakes can create bigger problems.
Step 9: Test the system properly
After each fix, do this test:
- Close the garage door normally.
- Wave a long object (like a broom) through the sensor path while it closes.
- The door should stop and reverse.
This confirms the sensors are actually working (not bypassed).
Common Scenarios (Quick Troubleshooting Table)
| What you see | Likely cause | Best first fix |
|---|---|---|
| Amber/yellow blinking, green off/blinking | Misalignment or obstruction | Clean + align sensors |
| Amber solid, green blinking | Receiver not seeing beam | Align receiver + check sunlight |
| Amber off completely | No power to sensor / wiring issue | Check wiring + connections |
| Works sometimes, fails at same time daily | Sunlight interference | Add shade/visor + adjust angle |
| Lights are solid but door still reverses | Different issue (limits/force) | Check travel limits (separate guide) |
When to call a professional (don’t push it)
Stop DIY and call a garage door technician if:
- sensor wires are damaged inside the wall/ceiling and you can’t safely route a new wire
- you suspect an opener board/electrical fault
- the door is off-track, extremely loud, or jerky
- you see issues involving springs/cables (do not touch)
FAQs
1) Can I bypass the safety sensors?
Many openers allow the door to close only if you hold the wall button continuously. That’s not a real bypass—it’s a temporary override meant for emergencies. Don’t rely on it long-term because the sensors are a key safety feature.
2) Why is my amber/yellow sensor blinking but the other one is solid?
Usually the beam isn’t stable—alignment is slightly off, the bracket is loose, or sunlight is interfering. Start with cleaning and alignment.
3) Do I need to replace the sensors if the amber light blinks?
Not always. Most cases are alignment/obstruction. Replace sensors only after you’ve ruled out:
- dirty lenses
- loose brackets
- sunlight issues
- wiring damage
4) My garage door closes halfway then opens again—are sensors the only reason?
Sensors are one of the most common reasons, but not the only one. Travel limits, force settings, or mechanical resistance can also cause reversing. (We’ll cover that in another post.)