Garage Door Sensor Alignment: How to Align Photo Eyes in 5 Minutes
If your garage door won’t close, reverses, or the opener light flashes, there’s a good chance your safety sensors (photo eyes) are misaligned. The nice part is that alignment is usually a quick fix—often under 5 minutes.
This guide shows you how to align photo eyes safely, what the sensor lights mean, and how to stop the problem from coming back.
Safety disclaimer: This is safe troubleshooting only. Do not attempt DIY work involving springs, cables, or hardware under tension. If the door is off-track or binding, call a qualified garage door professional.
Quick answer: What does “aligned” mean?
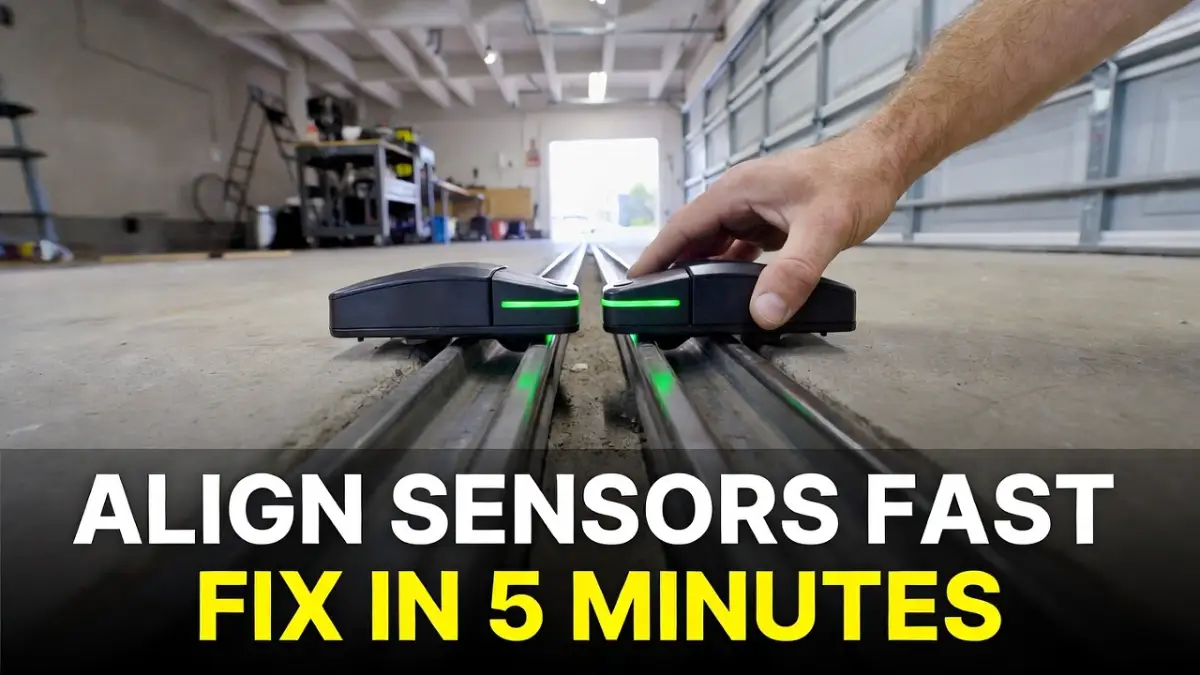
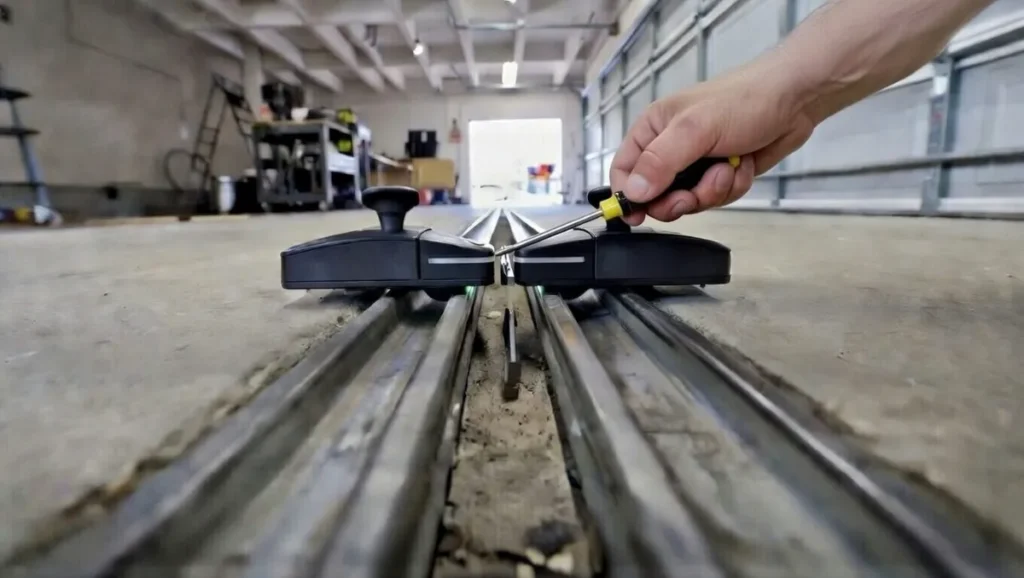
Your garage door sensors sit near the floor on both sides of the tracks. One sends an invisible beam, the other receives it. When they’re aligned, the receiver gets a steady beam and the door can close normally.
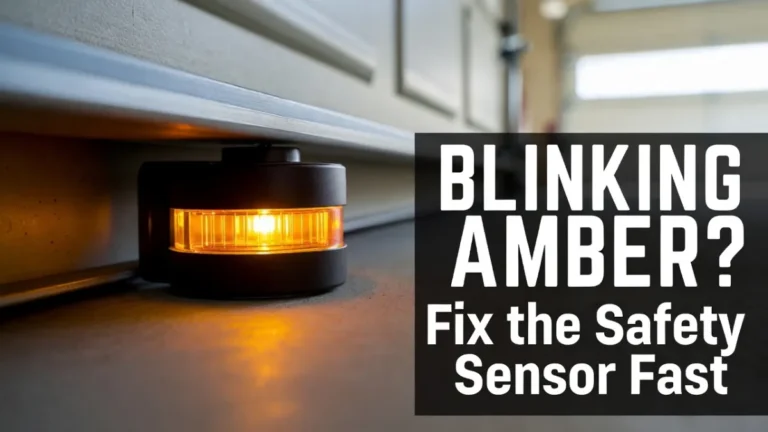
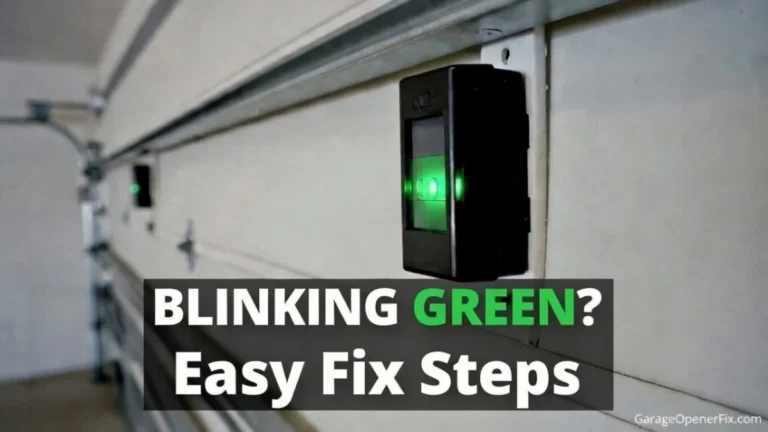
Most systems show this with steady (solid) lights. If a light is blinking or off, alignment (or something blocking the beam) is often the reason.
Tools you’ll need (usually none)
For most garages, you only need:
- a microfiber cloth (to clean lenses)
- your hands (to adjust)
- optional: a small screwdriver if your bracket needs tightening
That’s it.
Step-by-step: Align garage door safety sensors
Step 1: Check the sensor lights first
Look at both sensors near the floor.
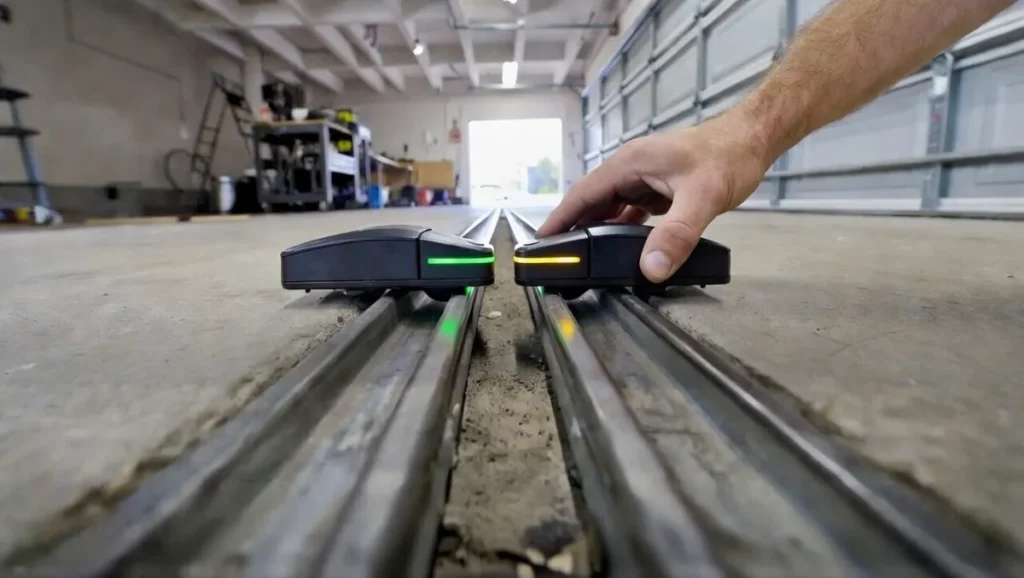
- If one light is blinking, alignment is likely needed.
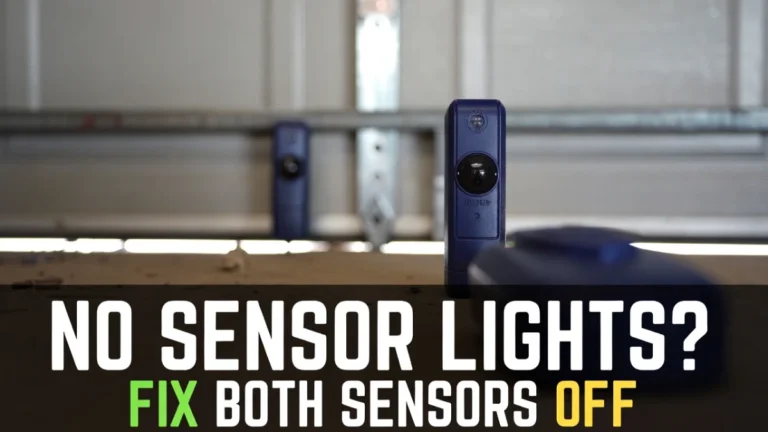
- If both lights are off, that’s usually a power/wiring issue (not alignment).
(You already have a “both lights off” post—link it later.)
Your goal is to get both lights steady.
Step 2: Clean the lenses (don’t skip this)
Even if you think alignment is the issue, clean first. Dirt can weaken the beam and make alignment “feel” impossible.
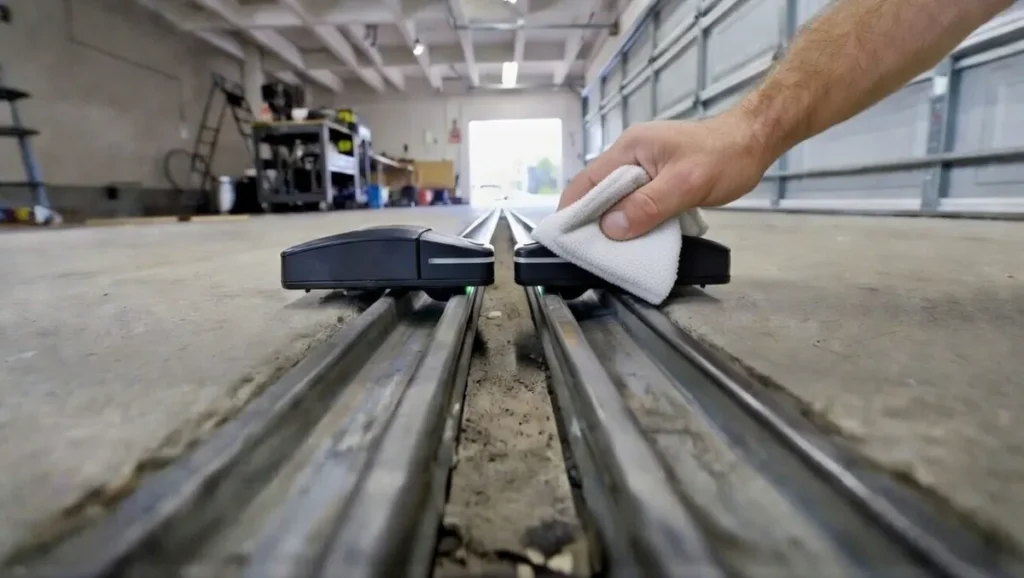
Wipe each sensor lens gently with a microfiber cloth. If needed, use a tiny amount of glass cleaner on the cloth (don’t spray directly).
Then check if the blinking stops.
Step 3: Make sure nothing is blocking the beam path
The beam runs low across the doorway. Remove anything near that line:
small toys, bins, tool handles, leaves—anything that could clip the beam.
Now check the lights again.
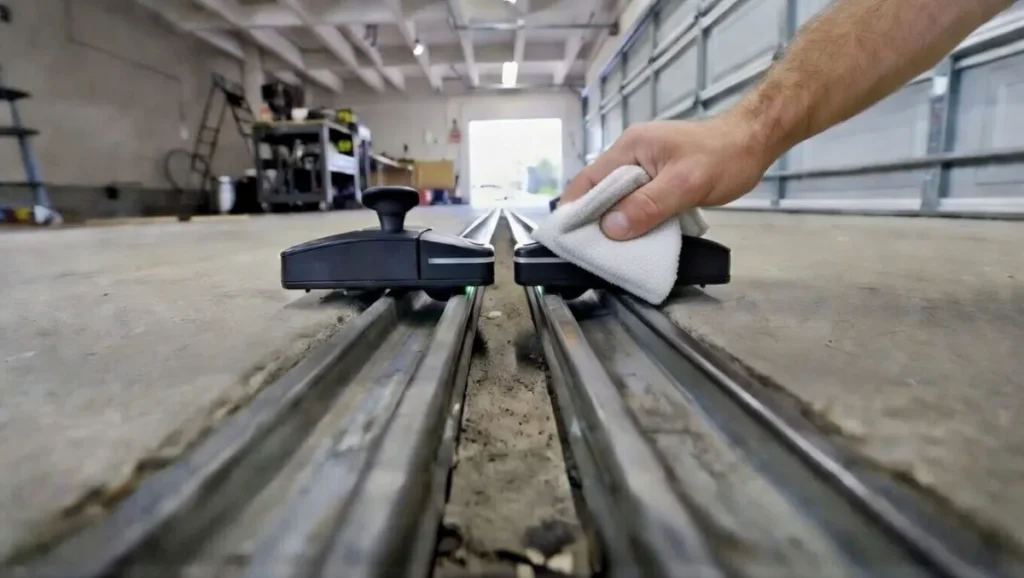
Step 4: Loosen the sensor bracket slightly
Each sensor is attached to a bracket on the track. Usually there’s a wing nut or screw that lets you angle the sensor.
Loosen it just enough so the sensor can move slightly—don’t remove the hardware.
Step 5: Align the receiver until the light becomes steady
Now do the easiest alignment method:
- Slowly move the sensor left/right and slightly up/down.
- Watch the light while you move it.
- When the blinking turns to a steady light, you’ve found the sweet spot.
Hold the sensor in that position and tighten the hardware gently.
If the light flickers as you tighten, you may be twisting it—tighten a little, re-check, then tighten again.
Step 6: Repeat on the other sensor if needed
Often only one sensor got bumped, but sometimes both are slightly off. If you can’t get a steady light, adjust the other side too.
Take your time—small movements matter.
Step 7: Tighten loose brackets (this prevents the problem returning)
If your sensor mount is loose, it can align perfectly and then drift out of position when the door vibrates.
Gently wiggle each sensor. If it moves easily, tighten the bracket hardware so it stays stable.
This one step prevents a lot of “it worked for a day and then failed again” problems.
Step 8: Test the door the right way
Once both sensor lights are steady:

- Close the door normally with the remote or wall button.
- During closing, wave a broom handle through the sensor line.
- The door should stop and reverse.
That confirms your sensors are aligned and working.
If alignment keeps failing: 4 common reasons
If you can’t keep the lights steady, these are usually why:
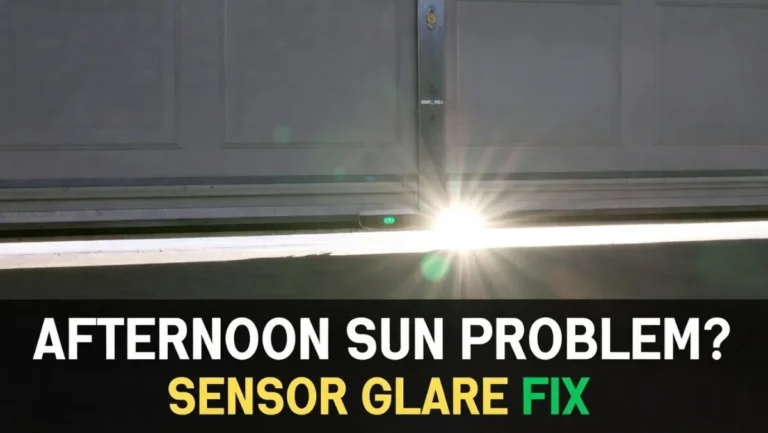
1) Sunlight glare (afternoon problem)
Direct sunlight can interfere with the receiver. A small visor/shade above the sensor often helps.
2) Dirty lenses or fog
Condensation, dust, or spider webs can weaken the beam.
3) Loose bracket / vibration
If the bracket moves, alignment won’t hold.
4) Wiring issues
Pinched or stapled wires can cause flickering lights or no light at all.
When to call a pro
Call a technician if:
- you see damaged wiring you can’t easily replace
- sensors won’t light up even after power checks
- the door is off-track, heavy, or making loud mechanical noises
- you’re not comfortable tightening brackets or checking connections
FAQs
How do I know my garage door sensors are aligned?
Most systems show alignment with steady lights on both sensors. Blinking or off lights usually mean misalignment, blockage, or wiring issues.
Can I align sensors without tools?
Yes. Most of the time you can align them by hand and tighten a wing nut. A screwdriver is only needed if the bracket is loose.
Why does my door close and then reopen even after alignment?
If sensor lights are solid, the issue may be travel limits, resistance, or another door/opener problem. You already have a post on sensor vs travel limits—link it here later.