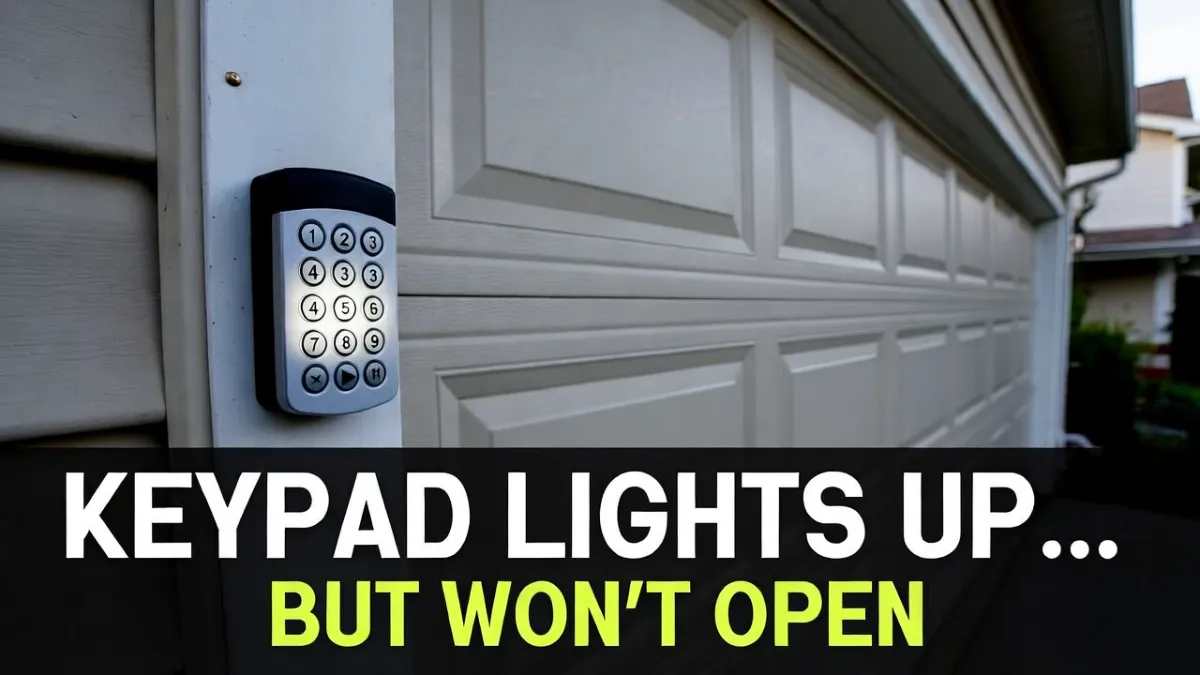
Garage Keypad Lights Up But Door Won’t Open: Causes and Fixes (Code, Lock Mode, Pairing)
When your garage keypad lights up and seems to accept button presses—but the door still won’t open—it usually means the keypad has power, but something is wrong with the code, lock mode, communication, or pairing to the opener.
The good part is you can troubleshoot this without touching anything dangerous. This is almost always a “settings / syncing” problem, not a mechanical garage door failure.
Safety note: This guide is about keypad and opener communication. Do not DIY repairs involving garage door springs/cables or hardware under tension.
Quick answer (most common causes)
If the keypad lights up but the door won’t open, the most common reasons are:
- The PIN is wrong (or being entered incorrectly)
- The opener is in Lock/Vacation mode (remotes/keypads disabled)
- The keypad is not paired to the opener anymore (needs Learn button programming)
- Range/interference issues (keypad signal is weak)
- Less common: keypad buttons are worn and not registering correctly
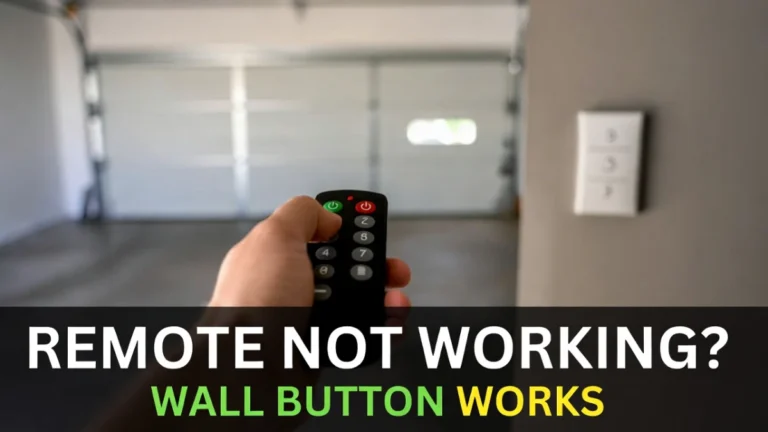
Step 1: Confirm the door works from inside (wall button test)
Before assuming the keypad is broken, confirm the opener and door still work.
Go inside the garage and press the wall button:
- If the wall button opens the door, your issue is almost certainly the keypad or a wireless setting (good news).
- If the wall button also fails, you may have an opener or power problem. In that case, troubleshoot power/GFCI first.
This step saves a lot of time.
Step 2: Check Lock/Vacation mode on the wall control (very common)
Many garage wall consoles have a lock feature that disables all wireless entry—including keypads.
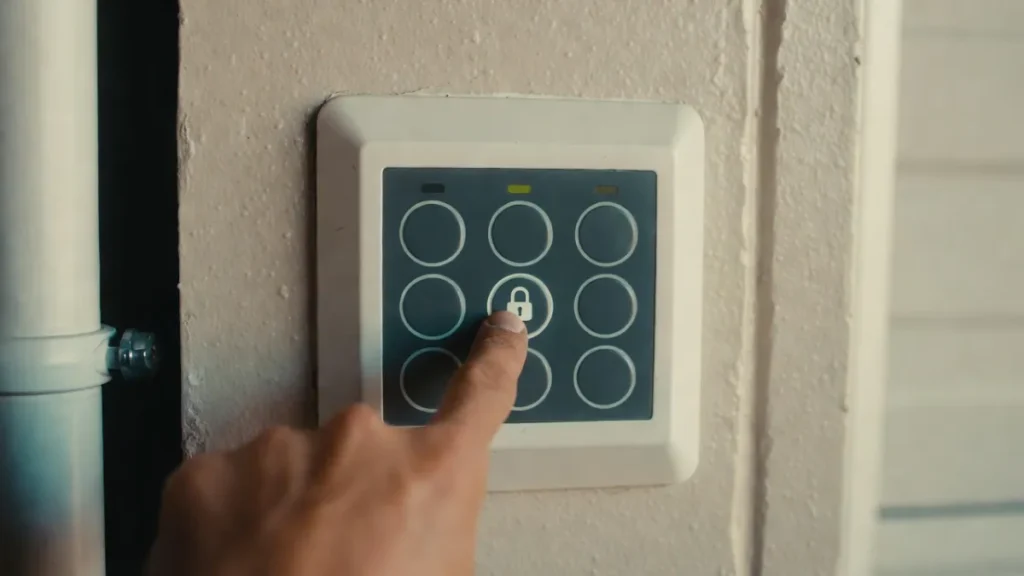
If Lock mode is ON, the keypad can light up normally, but it won’t open the door.
What to do:
- Look for a LOCK button or lock icon on the wall control.
- If the lock indicator is on, turn it OFF (often press-and-hold for a few seconds, depending on model).
- Try the keypad again.
If it works immediately, you’ve found the issue.
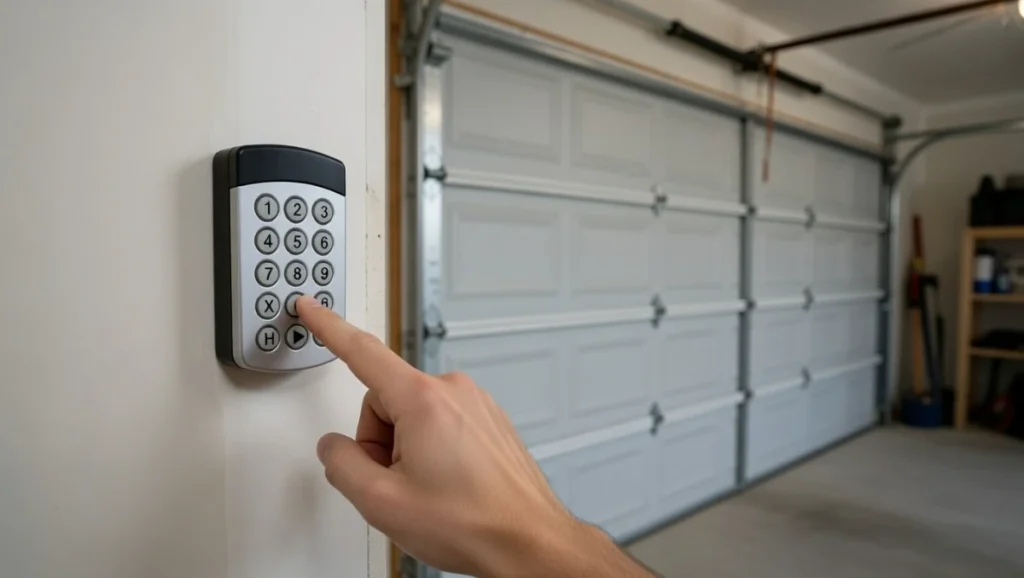
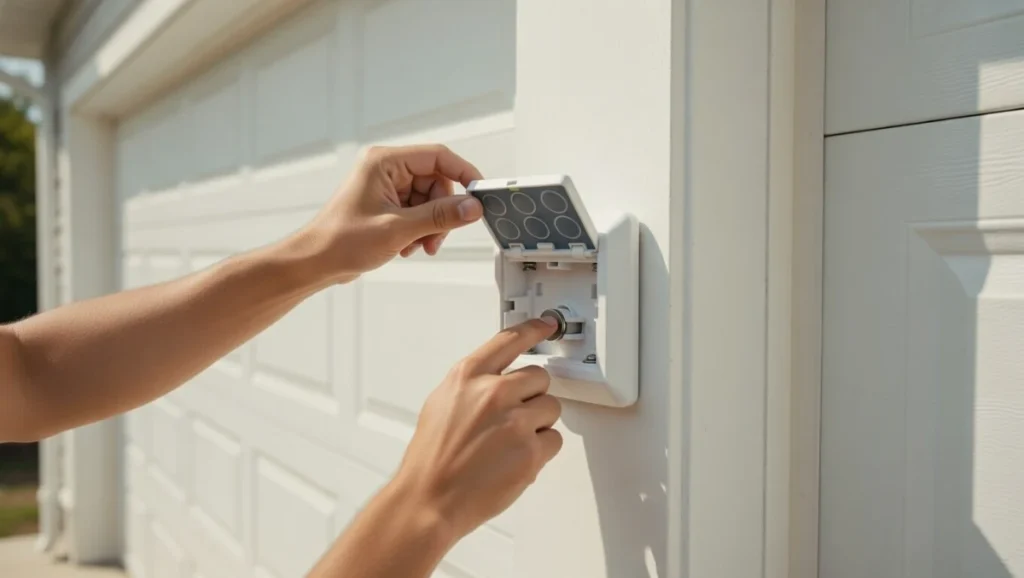
Step 3: Enter the PIN slowly and watch for “missed” presses
Keypads can be picky if buttons are worn. A keypad can light up but still not send the correct code because a number press didn’t register.
Try this:
- Enter your PIN slowly.
- Press each key firmly.
- Watch for any beep/light response per key press (varies by model).
If one specific number feels “dead,” the keypad may be worn out.
Step 4: Try a “simple” test PIN attempt (not guessing—just checking)
If you’re 100% sure the PIN is correct, skip this. But if there’s any chance the PIN was changed or forgotten, it’s better to reset/reprogram than to keep guessing.
Also check that you’re pressing the correct “enter” button (often labeled ENTER or a down arrow).
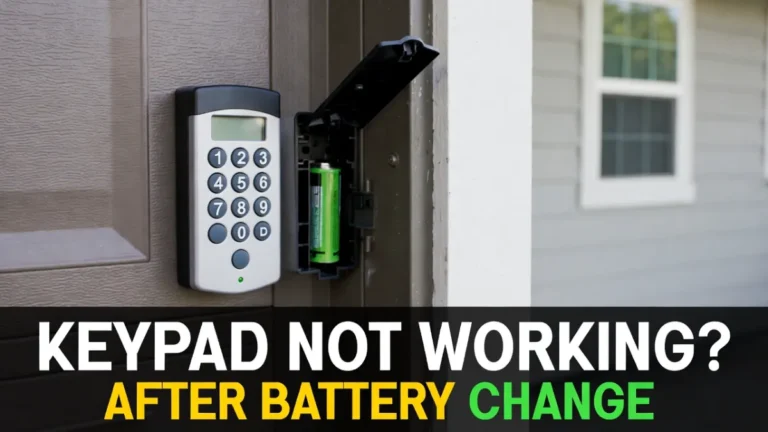
Step 5: Replace the keypad battery (even if it lights up)
A keypad can light up with a weak battery but fail to transmit consistently.
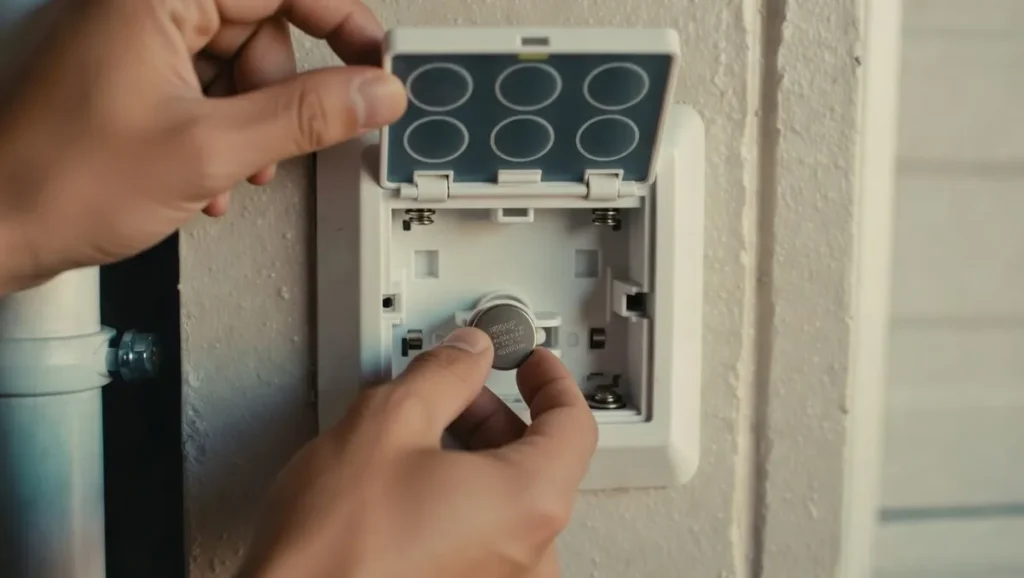
Use a fresh battery and ensure:
- correct battery type
- correct polarity (+/–)
- clean contacts
Then test again.
(If you already changed the battery recently, still try a fresh one—bad batteries happen.)
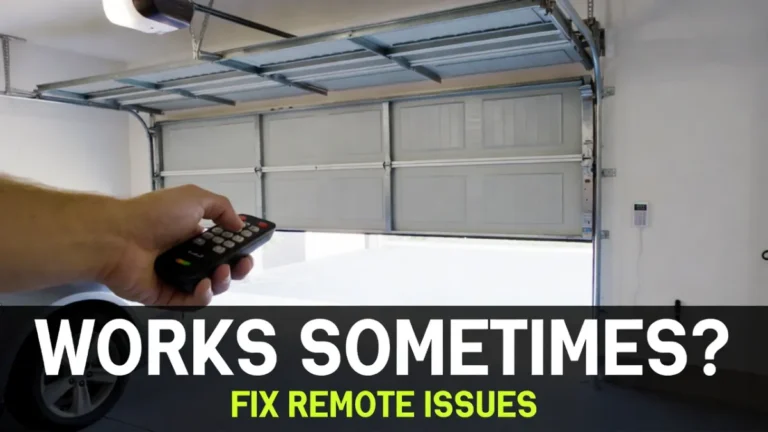
Step 6: Stand closer to the door and test (range check)
If the keypad works only when you’re very close, you likely have a range/interference issue.
Things that can reduce keypad range:
- metal framing
- thick doors
- nearby LED lights or electronics causing RF noise
- weak battery or aging keypad
Try opening from closer distance once just as a test.
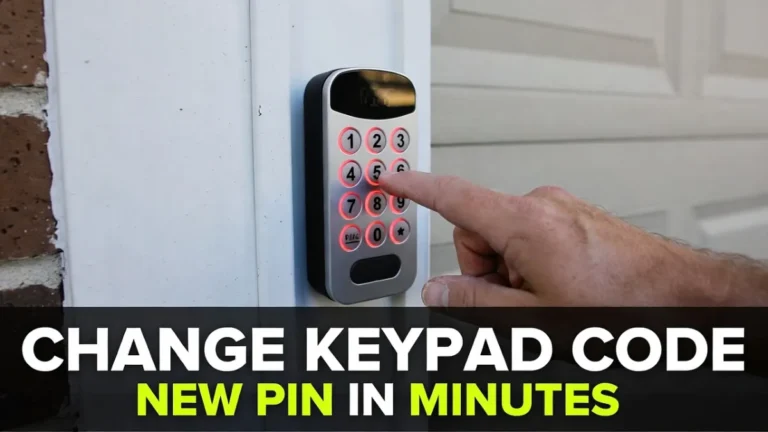
Step 7: Reprogram (pair) the keypad to the opener (Learn button method)
If Lock mode is off and the keypad still won’t open the door, pairing is the next most common fix.
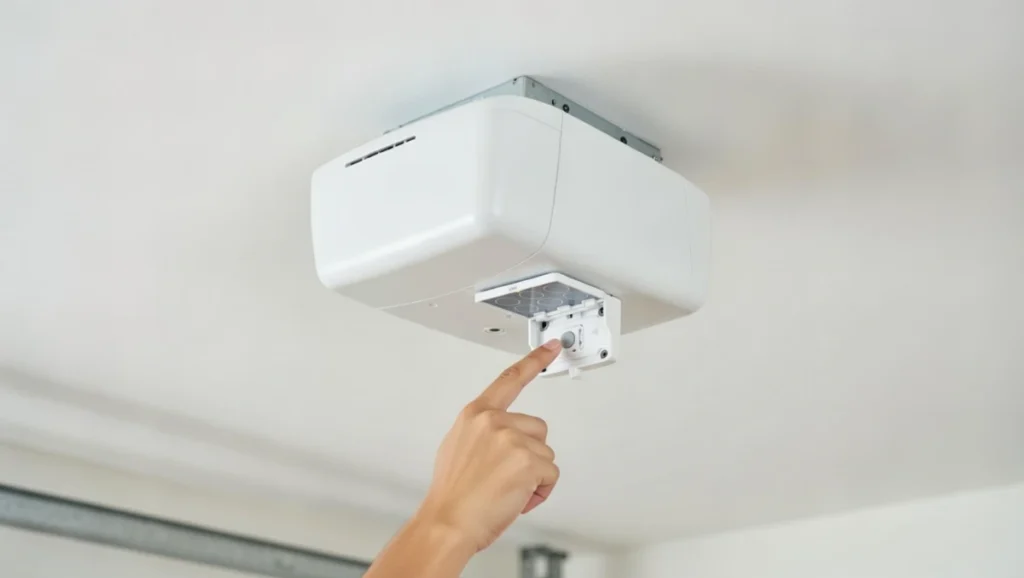
General approach (varies by brand/model, but concept is similar):
- Locate the LEARN button on the opener motor unit (usually on the ceiling unit, sometimes behind a light cover).
- Press and release LEARN. A light/LED usually turns on for a short window.
- Within that window, enter your desired PIN on the keypad.
- Press ENTER (or the confirm key).
- Wait for confirmation (light flash/click), then test.
If it fails the first time, try again slowly. Timing matters.
Because models differ, the exact sequence can vary. If you know your opener brand/model, follow the manual’s programming section for the most accurate steps.
Step 8: If it still won’t work, clear and re-add (only if necessary)
If you suspect the opener memory is confused (or you changed devices recently), removing and re-adding keypad programming can help. But be careful: some “clear memory” steps also remove remotes.
If you’re not comfortable with that, it’s okay to stop here and call a technician.
When to replace the keypad
Replacement is usually the best option if:
- some buttons don’t register consistently
- keypad works only from very close range even with a new battery
- reprogramming doesn’t stick (keeps losing pairing)
Keypads are often cheaper to replace than spending hours troubleshooting worn buttons.
FAQs
Why does my keypad light up but not open the garage door?
Most commonly because the opener is in Lock mode, the code is wrong, or the keypad needs to be reprogrammed to the opener.
Do I need to reprogram the keypad after changing the battery?
Not always, but it’s common. If the keypad lights up but won’t open the door, reprogramming is one of the best next steps.
How do I know if my keypad is paired to the opener?
If the wall button works but the keypad never triggers the door, and Lock mode is off, pairing is the likely issue. Reprogram using the Learn button.