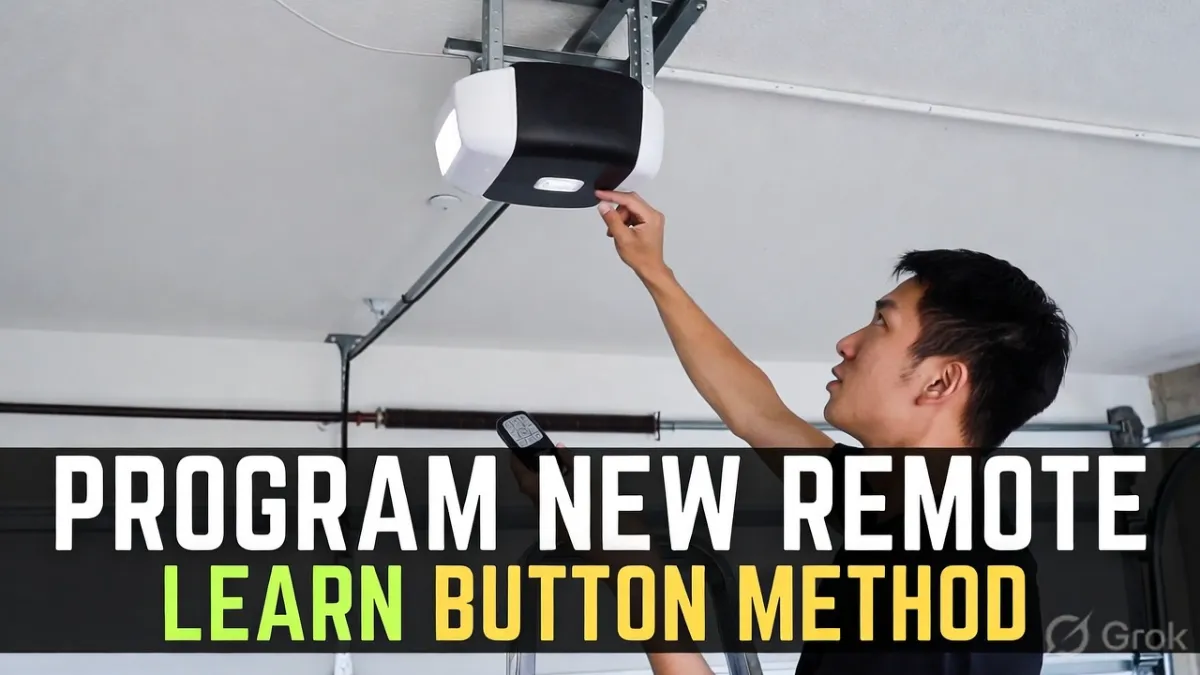
How to Program a New Garage Door Remote (Learn Button): Step-by-Step for Most Openers
How to Program a New Garage Door Remote : Programming a new garage door remote sounds complicated until you do it once. For most modern openers, it comes down to one simple idea: put the opener into “listening mode” using the Learn button, then press the remote button you want to pair.
This guide explains the Learn button method in plain English, plus the common mistakes that make people think their remote is “bad” when it’s really just timing or compatibility.
Note: Exact steps vary by brand/model. Use your opener’s manual for model-specific instructions, but this workflow matches the majority of residential openers in the U.S.
Quick answer (what you’re going to do)
You will press the opener’s Learn button once, then press a button on the remote within a short time window. The opener will confirm pairing (often by flashing lights or clicking). Then you’ll test the remote and, if needed, program additional remotes.
Before you start (2 quick checks)
First, confirm the garage door opens and closes using the wall button inside the garage. If it doesn’t, fix the power/opener issue first—pairing a remote won’t help.
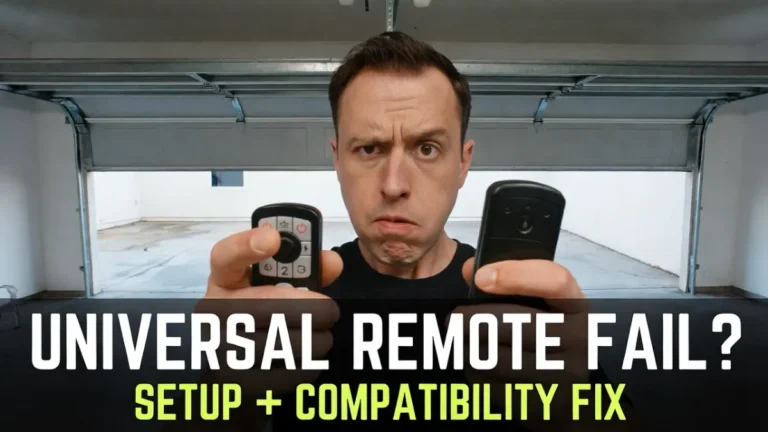
Second, make sure the remote is compatible with your opener. “Universal” and “brand” remotes aren’t always interchangeable. If the remote model doesn’t match the opener type, it will never program successfully.
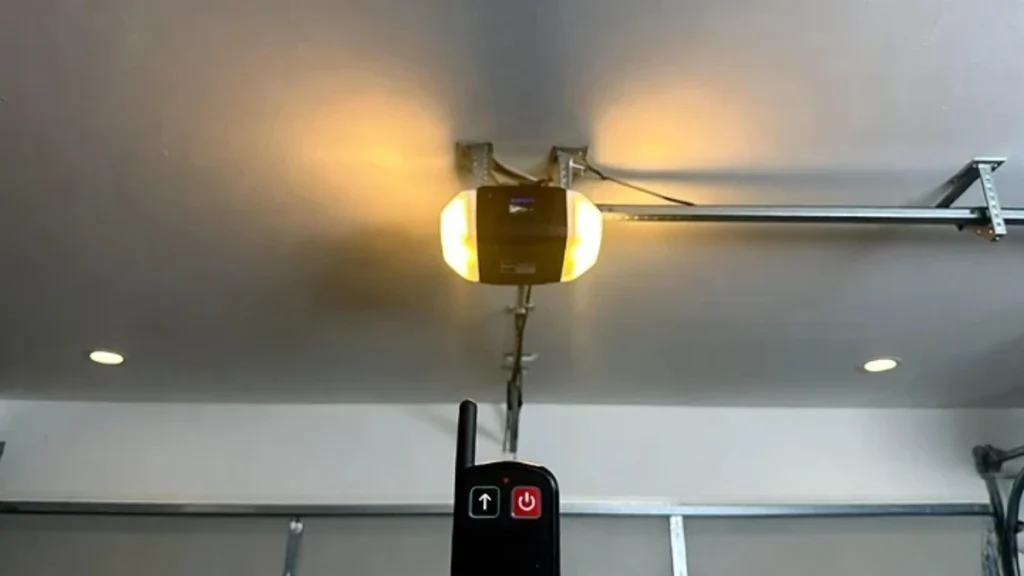
Step 1: Find the Learn button on your opener
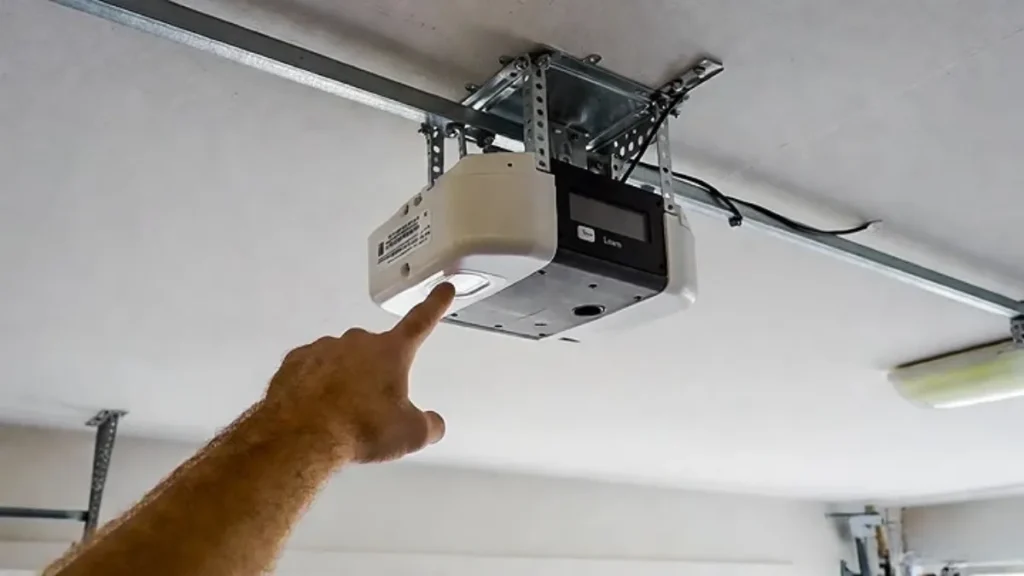
The Learn button is on the motor unit mounted on the ceiling. On many openers it’s behind a light cover or near the wire terminals. It may be labeled “Learn,” or it may be a small colored button next to an indicator LED.
Take a second to locate it and make sure you can reach it safely (stable ladder, good lighting).
Step 2: Put the opener into Learn mode
Press and release the Learn button once. In most cases an indicator light turns on and stays on for a short window (often around 30 seconds). That is the pairing window.
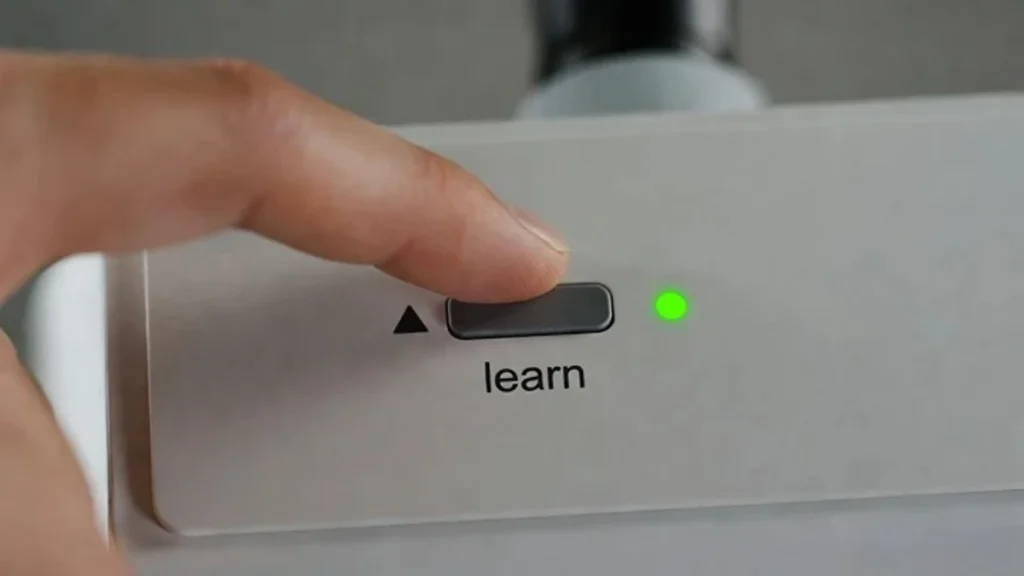
If you press the Learn button and nothing changes, don’t panic. Some openers require the light cover open to see the indicator, and some indicators are small.
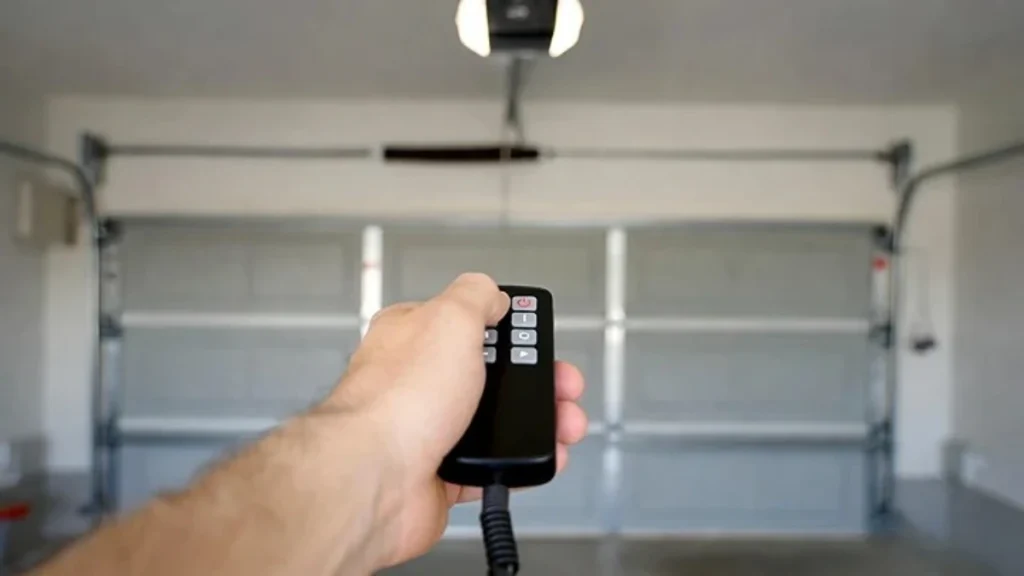
Step 3: Program the remote button
Within the Learn window, press the remote button you want to use. Hold it for a second, then release.
If pairing is successful, the opener usually confirms it in one of these ways:
- the opener light flashes
- you hear a click
- the opener makes a brief movement or sound
Now press the remote button again to test the door.
Step 4: Program additional remotes (if needed)
If you’re programming more than one remote, repeat the same process for each remote. It’s usually easiest to pair one remote fully and test it before moving to the next.
Avoid pressing multiple buttons randomly—keep it simple and repeat the same sequence.
If it won’t program: the most common reasons
If your remote refuses to pair, it’s almost always one of these issues.
The most common is timing. The Learn window closes quickly, and if you press the remote too late, the opener won’t hear it. Try again and move a little faster.
The second is distance. For the first pairing attempt, stand very close to the opener. Once paired, you can test range from outside.
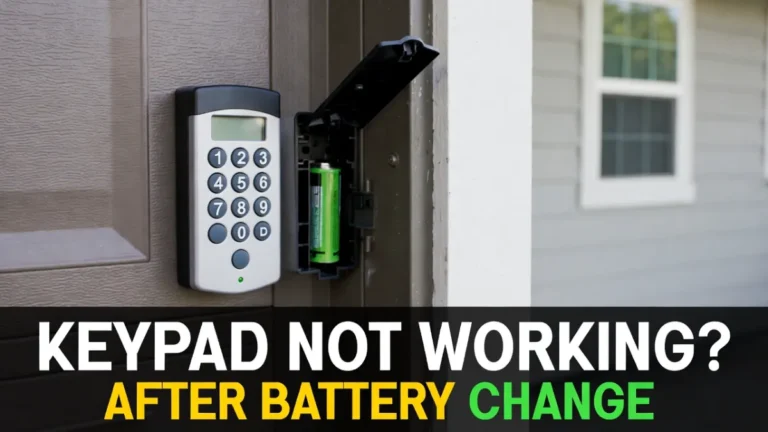
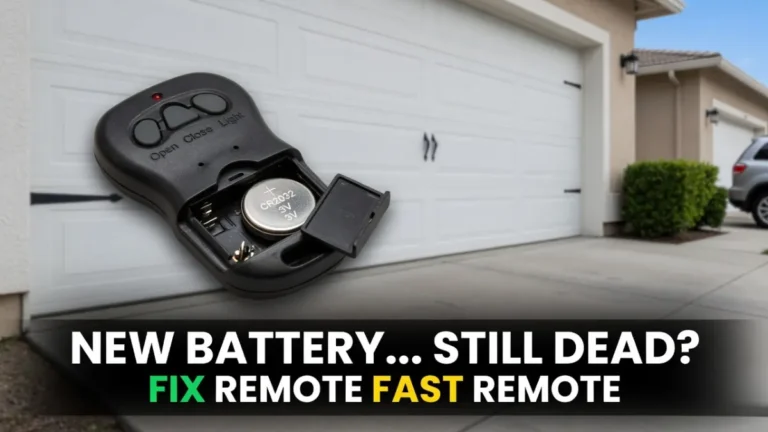
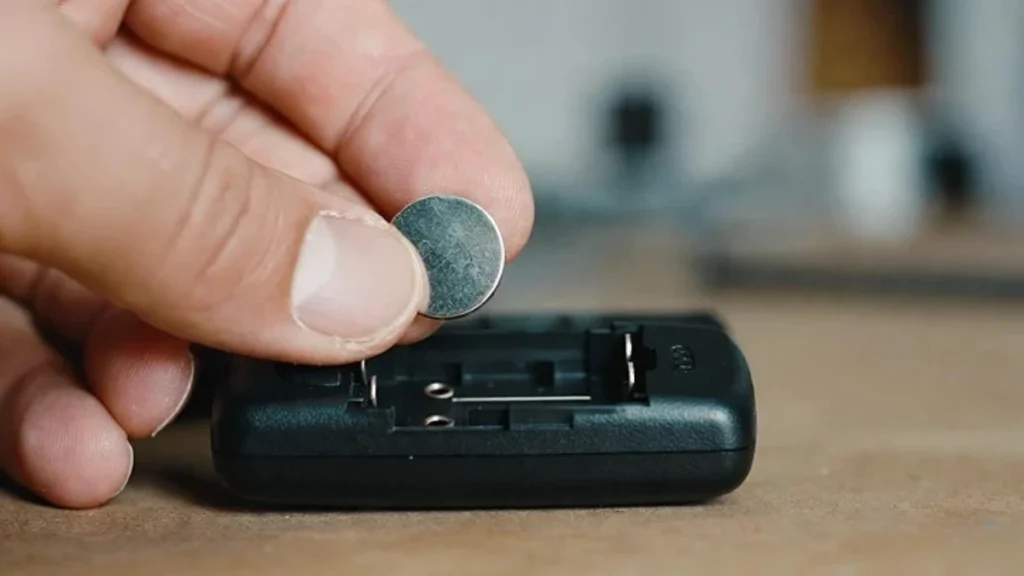
Third is battery/contacts. A remote can light up but still transmit a weak signal. If the battery is old or loose, pairing can fail.
Finally, compatibility matters. If the remote technology doesn’t match your opener (older dip-switch systems vs newer rolling-code systems), it won’t pair no matter how many times you try.
What if you cleared the opener memory?
Some people accidentally erase all remotes by holding the Learn button too long. If that happened, every remote and keypad must be reprogrammed again.
If your wall button still works but all remotes stopped, that’s a strong clue the opener memory was cleared.
Range problems after programming (it pairs, but works only up close)
If the remote programs successfully but the range is terrible, the problem is usually interference.
A very common cause is LED bulb interference from the opener light or new garage LEDs. The opener antenna wire being tucked up can also reduce range.
You already have strong related posts for this:
- Remote range suddenly short
- Remote works sometimes
Use those as internal links.
When to call a pro
You usually don’t need a technician just to program a remote. But it may be worth calling one if:
- the opener won’t enter Learn mode at all
- you suspect a damaged receiver/board
- multiple remotes fail to program even though compatibility is confirmed
FAQs
Do all garage door openers have a Learn button?
Most modern openers do. Very old systems may use dip switches instead of a Learn button.
How long do I have after pressing Learn?
Often around 30 seconds, but it varies. If it doesn’t pair, repeat the process and press the remote sooner.
Why does my remote pair but not work from far away?
That’s usually interference (often LED bulbs) or an antenna/range issue, not a programming issue.
Related Posts: