Universal Garage Door Remote Not Working: Setup, Compatibility, and Programming Fixes
Universal Garage Door Remote Not Working: Universal garage remotes are convenient—until they aren’t. If your universal remote won’t open the door (or only works sometimes), the cause is usually not a “broken garage opener.” Most of the time it comes down to compatibility, the wrong programming method, or interference and range issues.
This guide will help you troubleshoot universal remotes in a practical way, without getting stuck in endless button-press combinations.
Note: Universal remotes vary a lot. Always check the instructions for your specific remote model. The steps below explain the common logic behind universal remote setup so you can program it correctly.
Quick answer: why universal remotes fail
A universal remote typically doesn’t work for one of these reasons:
First, the remote may not be compatible with your opener’s technology (especially older dip-switch openers or some newer rolling-code systems). Second, the remote may be programmed using the wrong mode (brands often have multiple programming methods). Third, the remote can be programmed correctly but still fail due to interference (LED bulbs, antenna issues) or weak battery contacts.
So the goal is: confirm compatibility → choose the correct programming method → test range and interference.
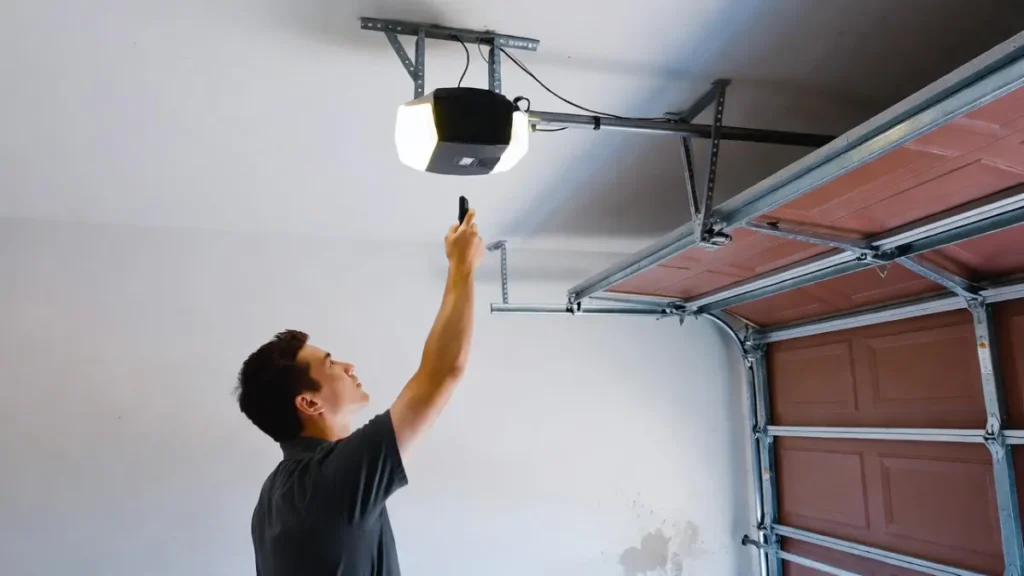
Step 1: Confirm your opener brand and model (or at least the Learn button area)
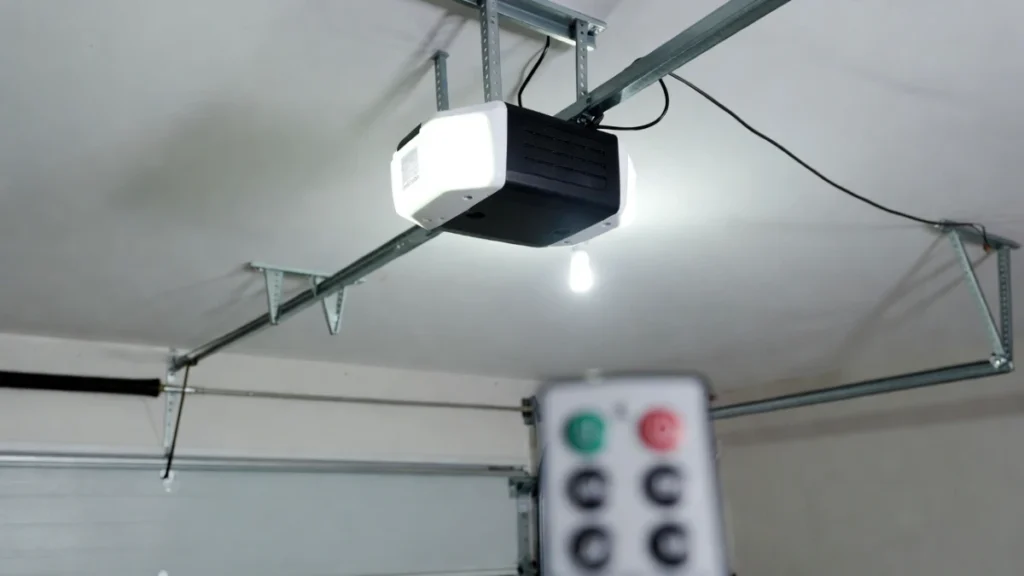
Universal remote setup depends on what opener you have. The easiest way to identify it is to look at the motor unit on the ceiling and find:

- the brand/model label (often on the side or bottom)
- the Learn button area (usually behind a light cover)
If you can’t find a model number, even knowing the approximate year and the Learn button style can help you choose the right programming method.
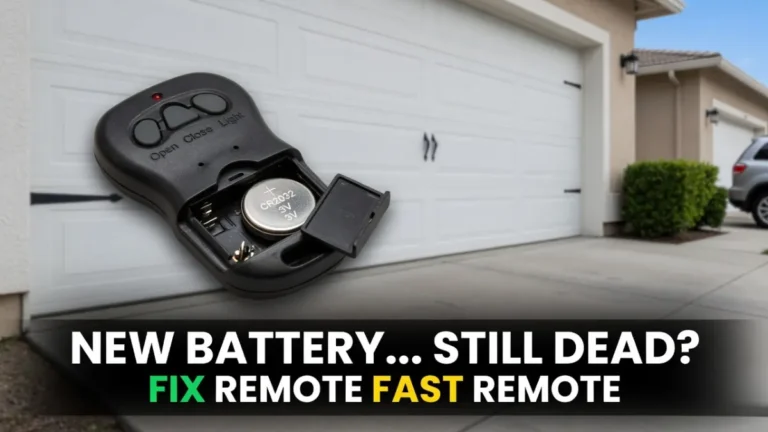
Step 2: Check battery + contacts (yes, even for new remotes)
A universal remote can look “new” and still fail because:
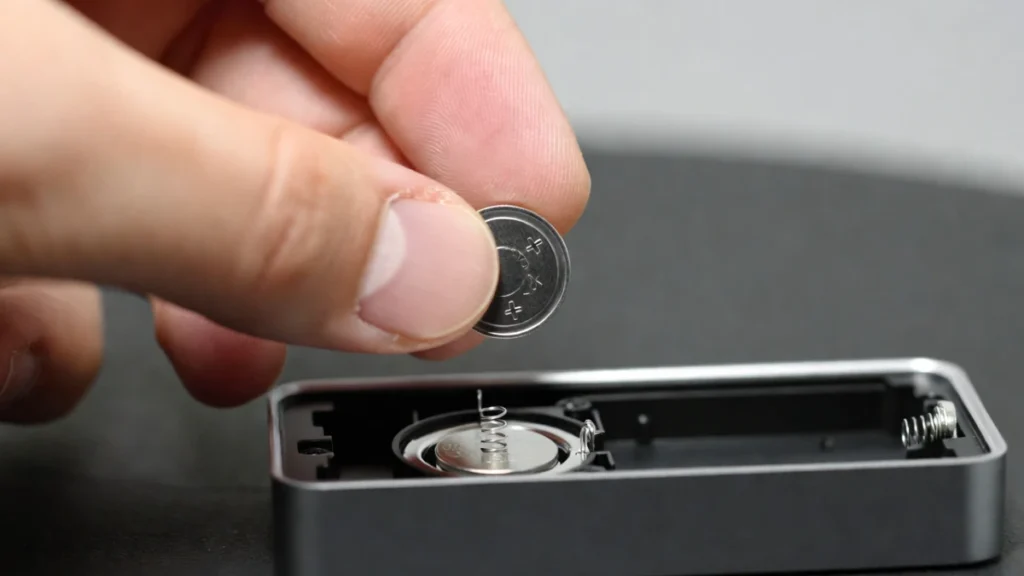
- the battery is weak or installed wrong
- the battery contacts are not tight
Use a fresh battery and make sure it sits snugly. If pressing the remote feels mushy or inconsistent, re-seat the battery and try again.
I know this sounds basic, but it prevents a lot of wasted reprogramming attempts.
Step 3: Choose the correct programming method (there are usually two)
Most universal remotes support one (or both) of these approaches:
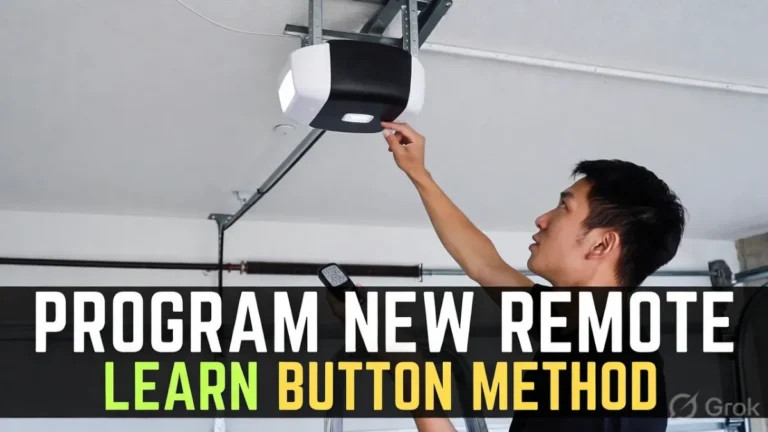
Method A: “Learn button” pairing (most common for newer openers)
This is the simplest method for many rolling-code openers. You press the opener’s Learn button, then press the remote button to pair.
Method B: Code-based programming (brand codes or “scan” mode)
Some universal remotes require you to select the opener brand, enter a code, or run an automatic scan cycle. This is often used when the remote can’t pair cleanly via Learn button, or when the remote wants brand-specific setup.
If your remote has a long list of brand codes, follow that exactly. The key is not to mix methods—if you start with code mode, complete the full code mode process before switching to learn mode.
Step 4: Programming tips that prevent failure
A few real-world details matter more than people think:
Start close to the opener. For your first pairing attempt, stand directly under the opener or within a few feet. Once it pairs successfully, then test from the driveway.
Avoid rushing the timing. Learn mode usually has a short window. If you wait too long, the opener stops listening and nothing happens.
Use only one remote button at first. Program a single button, confirm it works, and only then program additional buttons.
Step 5: If it pairs but works only up close, fix range/interference
Many people assume “it didn’t program” when the real issue is poor range.
The most common range killers are:
- LED bulb interference from the opener light
- an antenna wire tucked up inside the opener
- electronics near the opener (router/LED shop lights)
A simple test is to try the remote with the opener light OFF vs ON. If range is worse with the light ON, you likely have LED interference.
You already have a post on remote range being short—this is a perfect internal link.
Step 6: Compatibility problems (when nothing works no matter what)
If the universal remote never works, even after correct programming, you may have a compatibility mismatch.
Common scenarios:
- very old openers with dip switches (you may need a remote specifically designed for dip-switch systems)
- very new openers requiring a specific secure pairing method
- a remote that supports only certain frequencies/rolling-code types
In this case, the fastest path is to match the universal remote model to your opener model using the remote manufacturer’s compatibility checker (most brands provide one).
Step 7: If you recently cleared opener memory, you must re-add everything
If you erased all programmed devices from the opener, wall buttons still work but all remotes (including universal) must be reprogrammed. Re-run the pairing steps for each remote and keypad.
When to replace the universal remote
Replacement makes sense if:
- buttons are worn or unresponsive
- it only works at very close range even after interference fixes
- it’s confirmed incompatible with your opener model
Sometimes it’s cheaper to buy a compatible remote designed specifically for your opener brand/series than to fight a universal remote.
FAQs
Why won’t my universal garage remote work?
Most often because the wrong programming method was used or the remote isn’t compatible with your opener’s rolling-code technology.
Should I use Learn button or code programming?
If your opener has a Learn button and the universal remote supports Learn pairing, start there. If it fails, switch to the remote’s code/scan method.
The remote works up close but not from the driveway—what’s wrong?
That’s usually interference (often LED bulbs) or antenna positioning, not programming failure.
Related Posts: