Garage Door Sensor Wire Problem: Signs of Damage and Safe Fixes (Staples, Breaks, Reconnect)
Garage Door Sensor Wire Problem: If your garage door won’t close, keeps reversing, or your safety sensor lights are flickering (or completely off), a sensor wire problem is a very real possibility—especially in garages where the wiring runs low along the wall and gets hit by brooms, bikes, storage bins, staples, or even pets.
The tricky part is that wire problems can look like “bad sensors” or “misalignment,” so people waste time cleaning lenses and adjusting brackets when the real issue is a broken or loose wire.
This guide shows you how to spot wiring trouble safely and what you can do next.
Safety disclaimer: Garage door sensor wiring is low-voltage, but you should still be careful. Unplug the opener before touching any wires at the opener unit. Do not attempt DIY repairs on springs/cables or anything under tension.
Quick answer: signs it’s a wiring problem (not just alignment)
A sensor wire issue is likely when you see any of these patterns:
- Both sensor lights are off (very common when a wire is disconnected/broken)
- One sensor light is on, but the other is dead no matter how much you align it
- Lights flicker when the door vibrates or when you touch the sensor bracket/wire
- The door only closes when you hold the wall button (override behavior), especially after the sensors were “fine yesterday”
- The problem appears after moving items, cleaning the garage, or doing work near the tracks
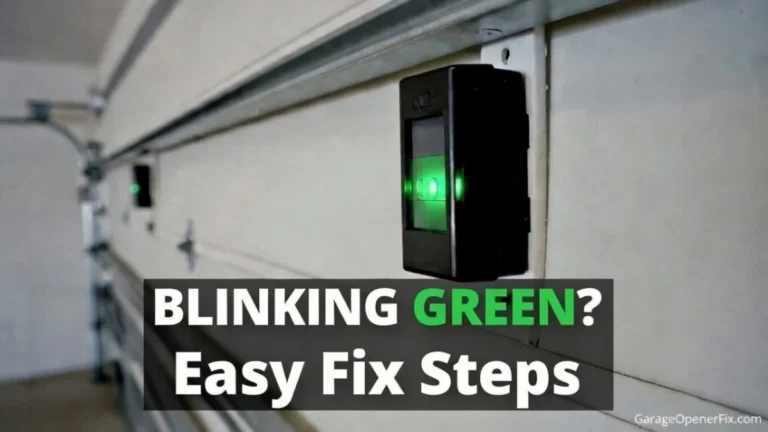
If your issue is only “blinking lights,” alignment can still be the cause—but if alignment doesn’t hold, wiring moves up the suspect list fast.
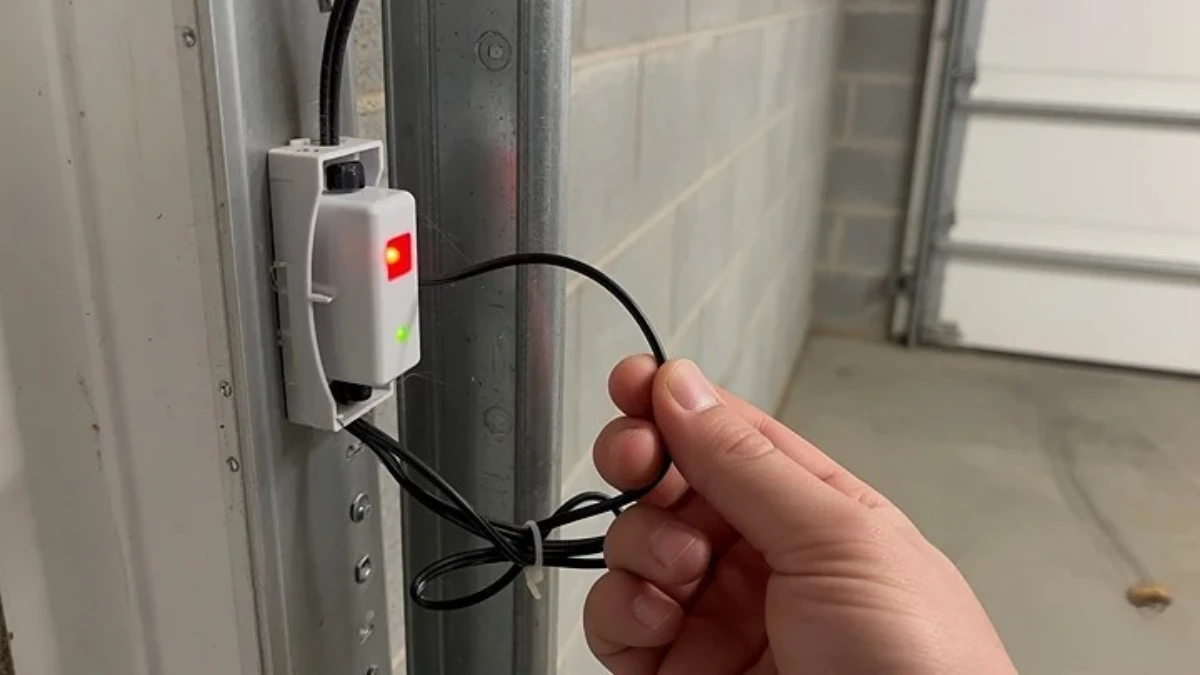
Step 1: Do the fastest check first—look at both sensor lights
Before touching wiring, look at the sensors near the floor.
If both lights are totally off, that’s often power/wiring. If one light is blinking and the other is solid, it can still be wiring—but it’s more commonly alignment or glare. The key clue for wiring is inconsistency: lights changing when you move or touch the wire.
(Internal link idea: your “Both sensor lights off” post fits perfectly here.)
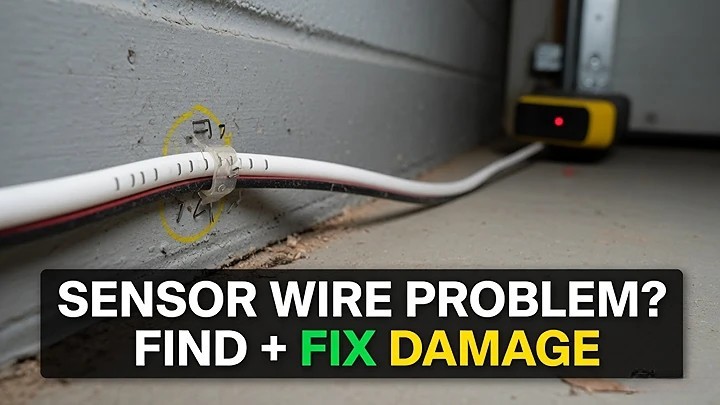
Step 2: Inspect the “damage zones” (where wires usually fail)
Most sensor wire damage happens in a few predictable places:
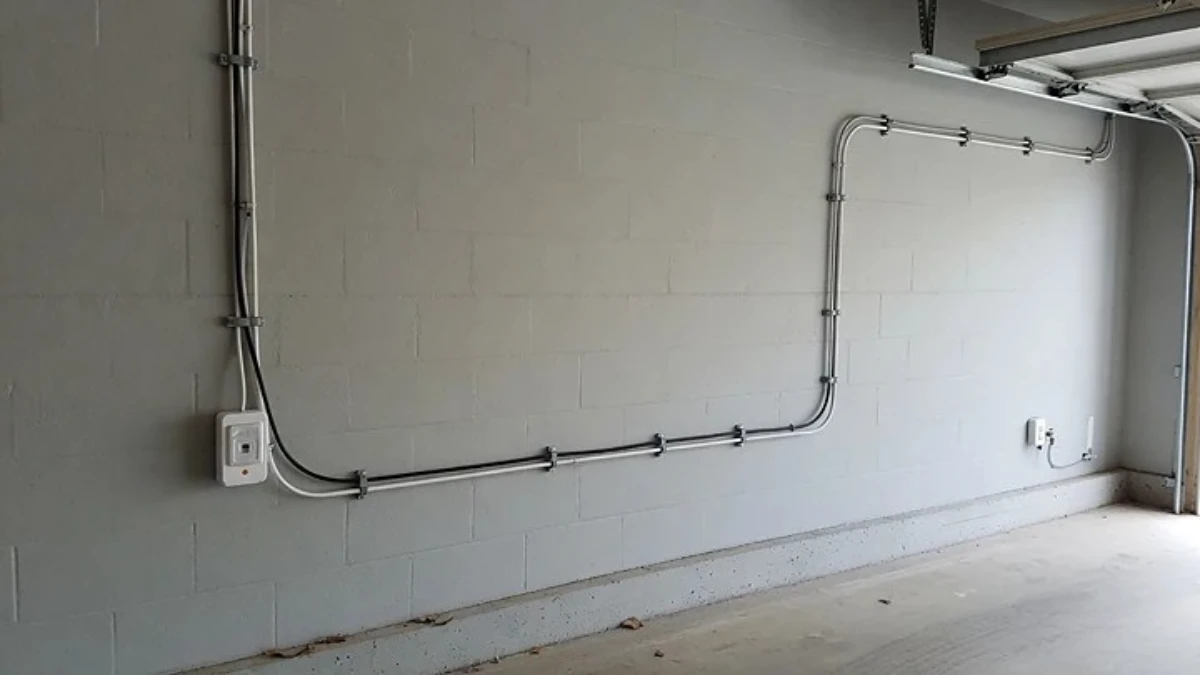
Near the floor and track brackets: wires get pinched, kicked, or snagged.
Stapled along the wall: staples can pierce the insulation or crush the wire.
Near the opener rail/ceiling: wires get pulled during storage changes or ladder bumps.
At the sensor head connection: the wire can loosen over time.
Walk the wire path with a flashlight and look for obvious signs like a cut, crushed section, exposed copper, or a spot where the wire is pulled tight.
Step 3: Check for “staple damage” (the #1 hidden wire problem)
Staples are a common DIY mistake. People staple low-voltage wire too tightly, and it works for a while—until vibration or temperature changes cause intermittent contact.
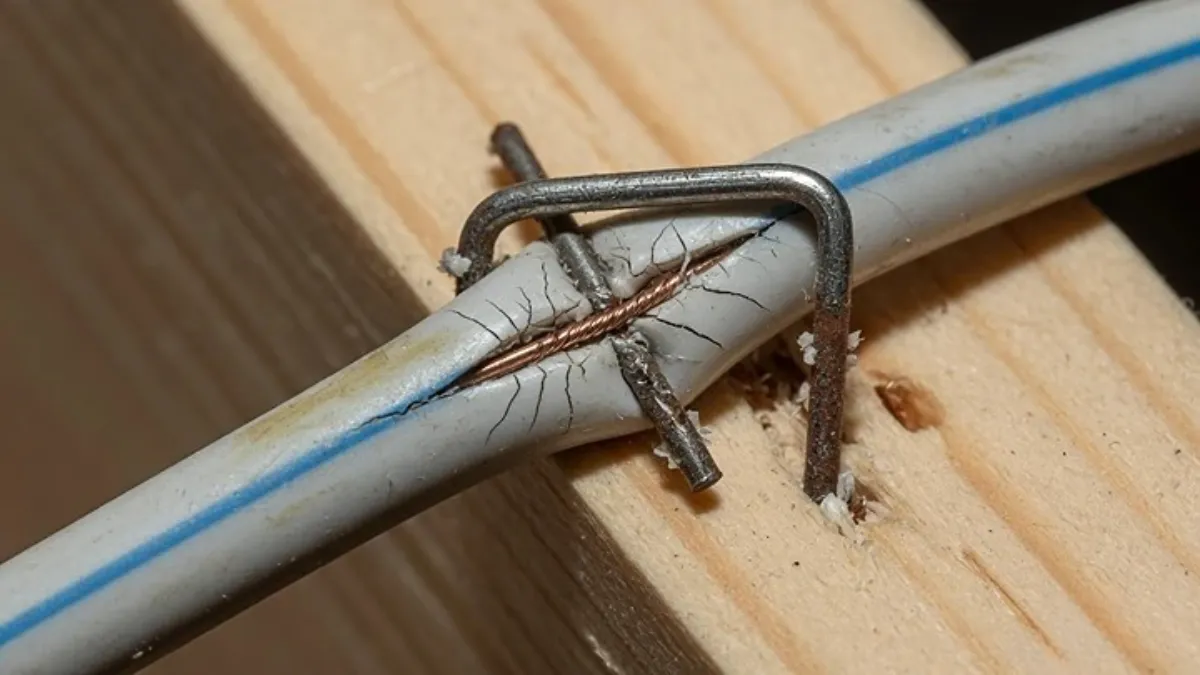
If you see a staple pressed hard into the wire, that’s a strong suspect. You don’t need to rip everything out. You just need to recognize that this spot may be the break.
If you’re comfortable doing a wire repair, you can cut out that crushed section and reconnect properly (more on that below). If you’re not comfortable, this is a good point to call a technician.
Step 4: Gently “wiggle test” the wire (no tools)
This is a simple way to identify intermittent breaks.
With the door not moving, observe the sensor lights while you gently wiggle:
- the wire near the sensor
- the wire near any stapled section
- the wire where it goes up toward the opener
If the sensor light flickers on/off when you wiggle a certain spot, you likely found the problem area.
Step 5: Re-seat the wire connections (safe method)
Loose connections can cause the same symptoms as a broken wire.
At the sensor head
Check that the wire is firmly seated in the sensor connection area and not half-pulled out.
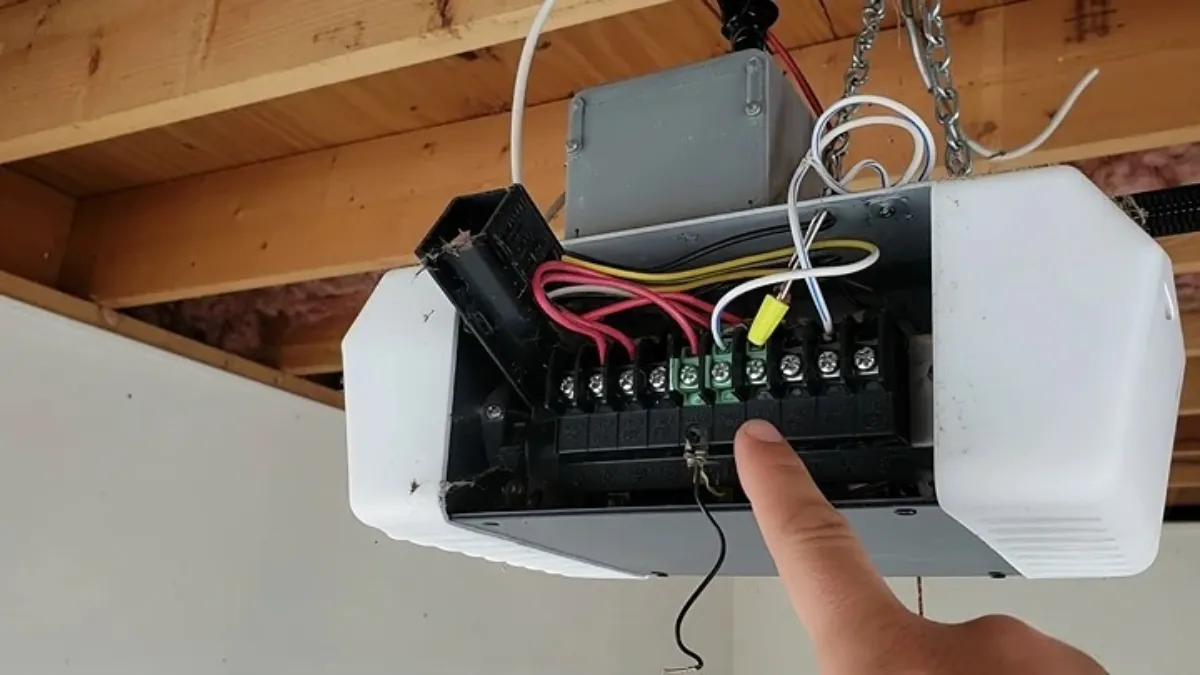
At the opener unit (only if you’re comfortable)
- Unplug the opener from the ceiling outlet.
- Locate the low-voltage terminals where sensor wires connect (usually a small terminal strip).
- Make sure the wires are seated securely (a loose wire can cause “both lights off” or flickering).
If you’re unsure, stop here. A pro can do this quickly and safely.
Step 6: If wire is damaged—repair vs replace (what actually works long-term)
This is where most DIY fixes go wrong. Twisting wires together and taping them near the floor might work for a day, then fail again.
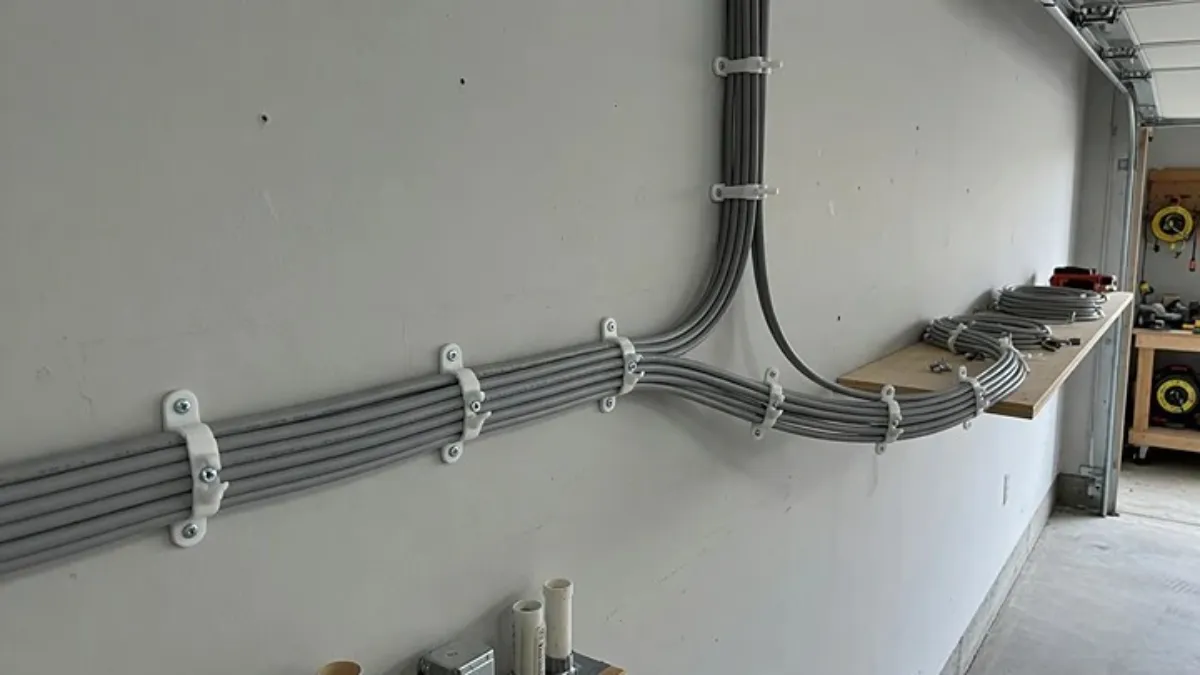
Best long-term fix (recommended)
Replace the damaged run (or run a new sensor wire) along a safer route, and attach it loosely so it doesn’t get crushed again. This is usually the most reliable solution if the wire has multiple damaged spots.
If you must repair a single damaged spot
Use proper low-voltage connectors and make sure the joint is protected from moisture and accidental pulls. Keep the repaired section away from the floor where water and impacts happen.
If the wire damage is inside a wall/ceiling, replacement is usually a technician job.
Step 7: After wiring fixes, you may still need alignment
Once wiring is stable, you may still need to align the sensors again. Wire damage and loose brackets often cause misalignment as a secondary effect.
Internal links that match this step:
- How to Align Garage Door Sensors (Photo Eyes)
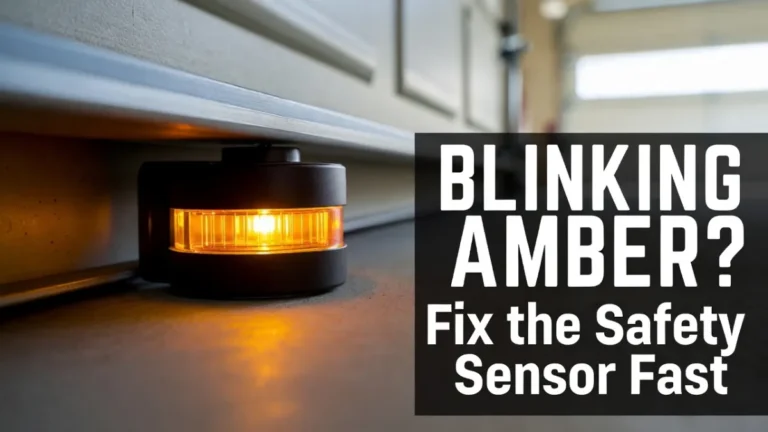
- Blinking Green / Blinking Amber guides
When to stop DIY and call a pro
Call a garage door technician if:
- you see exposed copper near areas that can get wet
- wire routing is complex (inside walls/ceiling)
- you suspect multiple breaks
- the door is behaving unsafely (binding, off-track)
- you’re not comfortable working near the opener terminals
The goal is safety and reliability—not a temporary patch that fails again.
FAQs
Can damaged sensor wires cause both sensor lights to go out?
Yes. If a wire is disconnected or broken, both sensors can go dark (depending on the wiring and which side lost power).
My sensors are aligned, but the lights still flicker—why?
Loose connections, staple damage, or a wire that’s partially broken can cause intermittent power/beam detection even when alignment is perfect.
Should I bypass the sensors if the wire is damaged?
No. Sensors are a key safety feature. Use supervised close only as a short-term workaround and fix wiring properly.