Garage Door Opener Chain/Belt Moves But Door Doesn’t: Causes and Safe Fixes
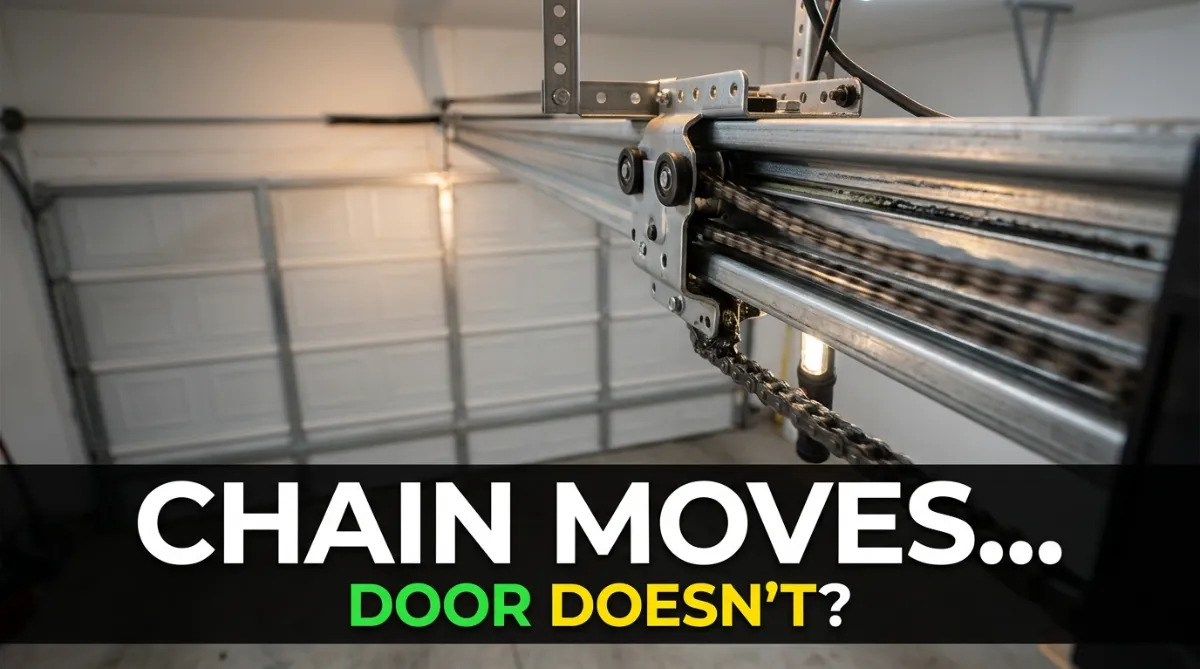
You press the button, the motor runs, the chain or belt slides back and forth — but the garage door just sits there. Nothing moves.
This is one of the more confusing garage door problems because the opener sounds like it’s working. The motor is running, the chain or belt is moving — so what’s wrong?
The answer is almost always this: the chain or belt has become disconnected from the door. The opener is doing its job, but the link between the opener and the door has broken somewhere.
I’ve seen this happen on a 6-year-old LiftMaster belt drive after someone accidentally yanked the red emergency release cord — the fix took under 5 minutes. Other times it’s a stripped gear or a broken trolley carriage, which takes a bit more work. This guide covers every scenario, from the 2-minute fix to knowing when to call a technician.
How the system works (quick background)
Understanding this makes troubleshooting much faster.
Your garage door opener works like this:
- The motor spins a drive sprocket (a gear)
- The chain or belt loops around the sprocket and runs the length of the rail overhead
- The chain/belt is attached to a trolley (also called a carriage or shuttle) that slides along the rail
- The trolley connects to the door via a J-arm (a curved metal bracket)
- When the motor runs → sprocket turns → chain/belt moves → trolley slides → J-arm pulls the door up or pushes it down
If any of these connections fail, the chain/belt moves freely but the door doesn’t. That’s exactly what you’re experiencing.
Quick diagnosis chart
| What you see/hear | Most likely cause |
|---|---|
| Chain/belt moves, door doesn’t budge at all | Emergency release cord pulled — trolley disconnected |
| Chain/belt moves but very loose, sagging | Chain/belt stretched or too loose — needs tensioning |
| Motor runs, but chain/belt barely moves | Stripped drive gear inside opener |
| Loud grinding noise when motor runs | Stripped nylon gear — needs replacement |
| Chain/belt intact but door is stuck | J-arm disconnected or broken |
| Belt looks intact but has a crack or split | Belt needs replacement |
Cause 1: Emergency release cord accidentally pulled (most common)
This is the #1 reason the chain moves but the door doesn’t — and it’s also the easiest fix.
Every garage door opener has a red emergency release cord hanging down from the trolley on the rail. Its job is to disconnect the door from the opener so you can open the door manually during a power outage. When you pull it, a spring-loaded latch on the trolley releases the door.
The problem: it’s easy to pull accidentally — especially if you’re reaching past it to grab something stored on a garage shelf, or if a child pulls it out of curiosity.
How to identify this:
- Look up at the trolley on the rail (the piece that slides back and forth)
- If the trolley is moving when you run the opener but the J-arm connecting to the door is NOT moving — the emergency release has been triggered
- You’ll often see a gap between the trolley and the J-arm connection point
How to re-engage (reconnect the trolley):
Method 1 — Manual pull (works on most openers):
- Pull the red cord toward the door (not straight down) — this re-engages the latch on some openers
- Manually lift or lower the door to the fully open or fully closed position
- Run the opener — as the trolley passes the J-arm connection point, it should click back into engagement
Method 2 — Use the opener to re-engage:
- With the door in the fully closed position, pull the red cord straight down to make sure it’s in release mode
- Then pull the red cord toward the motor unit — this resets the latch into the “ready to engage” position on most models
- Press the opener button — the trolley will move forward, catch the J-arm connection, and re-engage automatically with a click
LiftMaster / Chamberlain specific: On most LiftMaster and Chamberlain openers, after pulling the red cord toward the motor, run the opener once with the door closed. The trolley carriage will slide forward and snap back into the J-arm bracket. You’ll hear a distinct click when it re-engages.
Genie specific: Genie openers use a slightly different latch mechanism. Pull the red cord down, then manually slide the door to the fully open position, then run the opener to close — it will re-engage on the way down.
If re-engagement doesn’t happen automatically, check that the J-arm bracket on the door is not bent or broken.
Cause 2: Chain or belt is too loose / has slipped off the sprocket
A chain or belt that’s too loose will sag noticeably in the middle of the rail — it should have only a slight droop (about 1/2 inch below the rail on a chain drive). If it sags 2–3 inches or more, it’s too loose and can slip off the drive sprocket.
How to identify:
- Look at the chain/belt from the side — does it hang low in the middle?
- Run the opener briefly and watch — does the chain/belt appear to slip or jump rather than move smoothly?
How to tighten the chain (chain-drive openers):
The tensioning nut is located on the trolley assembly where the chain attaches, typically at the front of the rail near the door.
- Disconnect power to the opener (unplug it)
- Locate the trolley — you’ll see a bolt with two nuts (one adjustment nut and one locking nut)
- Hold the locking nut with one wrench, and turn the adjustment nut clockwise to increase tension
- Tighten in small increments — check after every few turns
- Correct tension: the chain should have about 1/2 inch of sag below the bottom of the rail when measured at the midpoint. No more, no less.
- Once correct, tighten the locking nut against the adjustment nut to hold it in place
- Plug the opener back in and test
Too tight is also a problem: An over-tightened chain puts excessive stress on the drive sprocket and the motor, and causes loud grinding. If in doubt, slightly loose is better than too tight.
For belt-drive openers (LiftMaster 8550W, Chamberlain B970, B4545, etc.): Belt tension is usually not user-adjustable on most modern belt-drive openers — the belt is pre-tensioned at the factory. If your belt is sagging or has slipped, it typically means the belt is worn and needs replacement, or there’s a problem with the drive mechanism. Check your model’s manual before attempting to adjust.
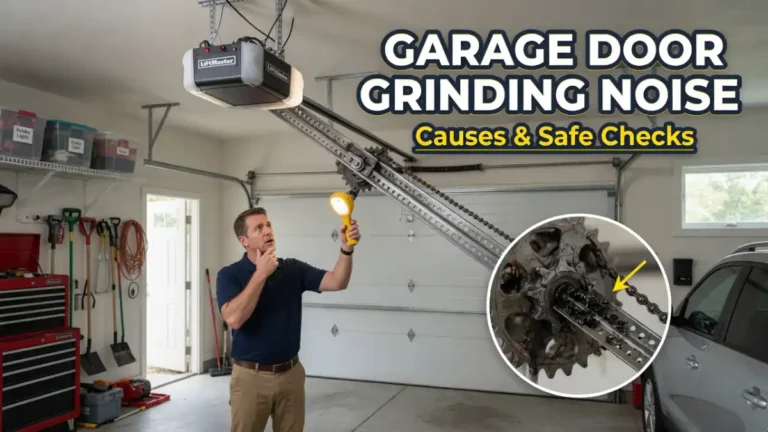
Cause 3: Stripped or worn drive gear (grinding noise)
Inside every chain-drive and some belt-drive openers is a nylon drive gear — a small plastic gear that meshes with a worm gear driven by the motor. This nylon gear is intentionally the weakest link in the system (it’s designed to fail before the motor does).
After 5–10 years of use, or after a hard jam (door hit something and opener forced it), this gear strips. When it does:
- The motor runs
- The chain/belt may move slightly or not at all
- You hear a loud grinding or clicking sound from the motor unit
This is the second most common cause of “motor runs but door doesn’t move.”
How to confirm:
- Listen carefully — the grinding comes from inside the motor head, not from the door or track
- If you see plastic dust or small plastic shavings on the floor below the opener, that’s a sign the gear has been stripping for a while
Fix — replace the drive gear:
This is a DIY-able repair for most people, and it’s much cheaper than replacing the full opener.
- Find your opener’s model number (printed on a label on the side or back of the motor unit)
- Search “[model number] drive gear kit” — for example, “LiftMaster 41A4315-7D gear kit” or “Chamberlain 41C4220A gear sprocket kit”
- Gear kits typically cost $15–$35 and include the gear, grease, and sometimes a new worm shaft
- The repair involves: unplug opener → remove cover → remove the old gear (usually held by a c-clip or snap ring) → install new gear → reassemble → lubricate per instructions → test
Most gear replacements take 30–60 minutes. There are model-specific video tutorials on YouTube for nearly every Chamberlain, LiftMaster, Craftsman, and Genie opener — search your exact model number.
When to replace the full opener instead: If the opener is over 12 years old, or if the gear has stripped more than once, replacing the full unit is more cost-effective. A new Chamberlain B2405 or LiftMaster 84501 runs $150–$220 and comes with modern safety features and MyQ smart home connectivity.
Cause 4: Broken or disconnected J-arm
The J-arm is the curved metal bracket that physically connects the trolley to the top of the garage door. If this bracket breaks, bends severely, or pops out of its mounting point, the trolley will move freely but the door stays put.
How to identify:
- Look at the connection between the trolley and the door — is the J-arm still in place?
- Check both connection points: where the J-arm attaches to the trolley, and where it attaches to the door bracket on the top panel
- Look for any visible cracking, bending, or a missing bolt
Fix:
- If a bolt is missing: replace with the correct size bolt and tighten securely (check your opener’s manual for the correct hardware)
- If the J-arm is bent: straighten with a vice if minor, or replace it — J-arms are universal and cost $10–$20
- If the door bracket (the piece mounted to the top door panel) is cracked or torn from the panel: this may require a professional, as it involves drilling new mounting holes in the door
Cause 5: Chain has snapped or belt has broken
Less common, but it happens — especially on older openers or if a chain was severely overtightened or the door jammed hard.
Chain snapped:
- You’ll see a gap in the chain, or the chain hanging loosely in a pile on the rail
- A replacement chain for most residential openers costs $20–$40 — make sure to match the chain pitch (most residential openers use #41 or #50 chain)
- This is a DIY repair but takes some patience to thread correctly
Belt cracked or split:
- Look for visible cracking, fraying at the edges, or a complete split
- Replacement belts are model-specific — search “[opener model number] replacement belt”
- Cost: $25–$50 for most LiftMaster and Chamberlain belt kits
- This repair requires removing the front pulley and feeding the new belt through the rail — moderate DIY difficulty
Cause 6: Trolley carriage is broken
The trolley itself can crack or break — especially on older openers. The trolley is the plastic and metal assembly that rides along the rail and carries the J-arm.
Signs of a broken trolley:
- The chain/belt moves, the trolley moves, but it’s not pulling the J-arm because the attachment point on the trolley is cracked
- You can see visible cracking or pieces of plastic near the trolley
Fix: Order a replacement trolley carriage for your specific model. Cost is typically $20–$45. This is a moderate DIY repair — the chain or belt needs to be removed and threaded through the new carriage.
Safety warnings — what NOT to do
Do not force the door manually if:
- The door is very heavy when you try to lift it by hand (could mean a broken spring — extremely dangerous)
- You see cables that look frayed, kinked, or off the drum
- The door is off track
Do not try to re-tension or adjust torsion springs yourself. The springs above the door are under hundreds of pounds of tension and can cause serious injury if released suddenly. Any spring work should be done by a licensed technician.
Always unplug the opener before working on any internal components.
Step-by-step: How to manually operate the door while you troubleshoot
If you need to use the garage while you’re waiting to fix the opener:
- Pull the red emergency release cord straight down — this disconnects the door from the opener
- Lift the door manually — it should feel relatively light (8–15 lbs for a balanced door)
- If the door feels very heavy or won’t stay up on its own, do not use it — this indicates a spring problem that needs professional attention
- To lock the door in place while open, use locking pliers (Vice-Grips) clamped onto the track just below a roller
When you’re ready to re-engage the opener, follow the re-engagement steps in Cause 1 above.
Brand-specific notes
LiftMaster (chain-drive models: 8365, 8355, 8160H): Nylon drive gear failures are common on LiftMaster chain drives over 8 years old. The grinding noise is distinctive. Part number 41A4315-7D fits many older models — double check with your model number.
Chamberlain (B2401, B4505, WD832KEV): Same drive gear platform as LiftMaster (same parent company). Gear kits are interchangeable on many models. Belt-drive Chamberlain models rarely have gear issues — if the belt moves but door doesn’t, check the J-arm and emergency release first.
Craftsman (older models): Older Craftsman chain-drive openers (pre-2015, made by Chamberlain) have the same nylon gear design. Parts are still available. Newer Craftsman openers are also made by Chamberlain and use similar components.
Genie (models: 4042, 2562, 7155): Genie uses a different internal gear design — their failure mode is usually the front-mounted drive belt or the worm gear shaft, not a nylon gear. Genie’s re-engagement procedure is also slightly different from LiftMaster — consult your model’s manual.
Ryobi / Overhead Door: Less common but both use trolley-and-J-arm systems identical in principle to the above. Emergency release re-engagement is the same process.
Cost summary
| Repair | DIY Cost | Pro Cost |
|---|---|---|
| Re-engage emergency release | Free | — |
| Adjust chain tension | Free | $50–$80 (service call) |
| Replace drive gear kit | $15–$35 | $80–$150 |
| Replace J-arm | $10–$20 | $75–$120 |
| Replace chain | $20–$40 | $100–$180 |
| Replace belt | $25–$50 | $120–$200 |
| Replace full trolley carriage | $20–$45 | $100–$160 |
| Replace full opener | $150–$250 (unit only) | $300–$500 installed |
FAQs
The chain is moving but barely — it looks like it’s slipping. What’s wrong? Most likely the chain has come off the drive sprocket, or the sprocket’s teeth are worn down. If re-tensioning the chain doesn’t help, inspect the sprocket for worn or broken teeth. A worn sprocket needs replacement — don’t just replace the chain without checking the sprocket, or the new chain will wear quickly.
My belt-drive opener’s belt is moving but the door isn’t. It’s not the emergency release. Check the J-arm connection first — it’s the most common cause on belt drives after the emergency release. If the J-arm is intact, open the motor unit cover and look at the drive mechanism inside. Belt-drive openers can have an internal coupler or carriage mechanism that fails independently of the visible belt.
After re-engaging the emergency release, the opener runs but the trolley just slides back without pulling the door. The trolley latch may not be properly re-set. Try this: with the door fully closed, pull the red cord toward the motor unit, then run the opener. If that doesn’t work, manually slide the trolley carriage toward the J-arm until you feel it click into place, then test again.
How long should a garage door opener chain or belt last? A well-maintained chain drive should last 10–15 years. Belt drives typically last 10–12 years. Regular lubrication (chain drives: white lithium grease every 6 months; belt drives: don’t lubricate the belt itself) significantly extends life.
Is it worth repairing a 15-year-old opener with a stripped gear? Borderline. A gear kit is only $20–$35, so if everything else on the opener works fine, the repair makes sense. But if the opener is 15+ years old and this isn’t the first repair, a new opener with battery backup and smart home features is a better long-term investment.
Summary: What to check, in order
- Emergency release cord — is the trolley disconnected from the J-arm? Re-engage it first.
- Chain/belt tension — is it sagging more than 1/2 inch? Tighten the chain or inspect the belt.
- Listen for grinding — grinding from the motor unit = stripped drive gear. Order the gear kit.
- J-arm — still connected to both the trolley and the door bracket? Check for bends or missing bolts.
- Chain/belt condition — any visible breaks, cracks, or splits? Replace the damaged part.
- Trolley carriage — any visible cracking or broken attachment points on the trolley itself?
- Call a pro if the door feels very heavy when lifted manually, or if cables or springs look damaged.
Last updated: June 2026
Related Posts
- Garage Door Won’t Open After a Power Outage: Reset, Reconnect, and Re‑Sync Steps
- Garage Door Opener Clicking But Not Opening: Common Causes and Safe Checks
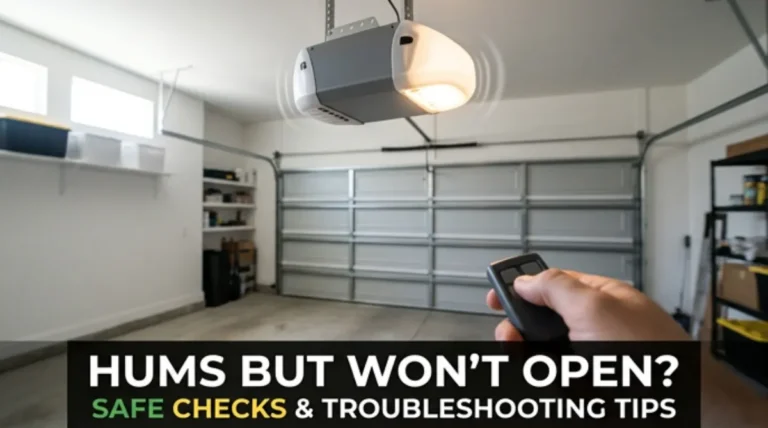
- Garage Door Opener Hums But Door Won’t Open: Causes and Safe Checks
- How to Tell If Your Garage Door Spring Is Broken (Safe Signs + What NOT to Do)