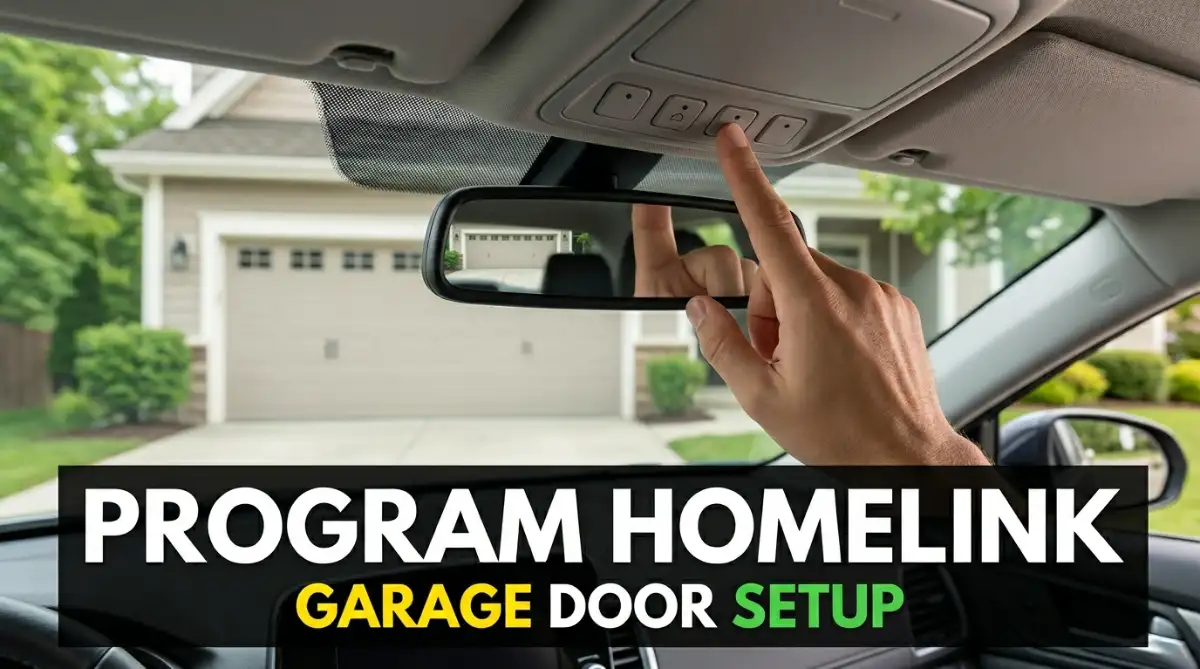
How to Program HomeLink to Your Garage Door Opener (Step-by-Step + Learn Button Method)
How to Program HomeLink to Your Garage Door Opener: HomeLink is super convenient—until you’re stuck in the driveway pressing the button and nothing happens. The good news is that HomeLink programming usually works once you do it in the correct order.
Most setups require two parts:
- Train HomeLink to “learn” your handheld remote signal, and
- For many modern openers, complete pairing using the opener’s Learn button (rolling code step).
This guide walks you through the process and the common reasons it fails.
Safety note: You’re only working with remotes and buttons. Do not touch springs/cables or door hardware.
Quick answer (what usually works)
For most modern openers, the reliable path is:
- Clear the HomeLink button (optional but recommended if it’s used)
- Train HomeLink using your handheld remote (close range)
- Then press the opener’s Learn button and press the HomeLink button again to finalize pairing
If you skip the Learn-button step on rolling-code openers, HomeLink may “train” but never actually operate the door.
Before you start (saves frustration)
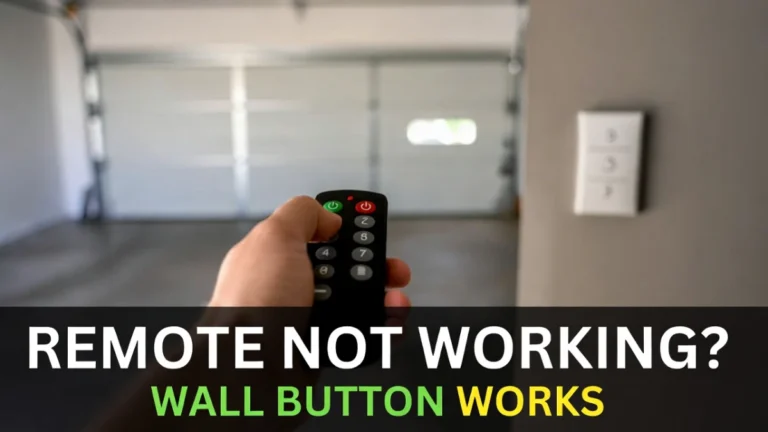
- Make sure your handheld garage remote works normally first. If the remote itself is unreliable, HomeLink programming will be unreliable too.
- Park outside the garage and keep people/pets clear—your door may move during testing.
- If your car has multiple garage buttons, choose one and stick with it until it works.
Step 1: Clear the HomeLink button (recommended if it’s already programmed)
If the HomeLink button is already paired to something, clearing it avoids mixed signals.
The exact clear method varies by vehicle, but commonly you press and hold the HomeLink button you want to program until the indicator changes (fast blink or color change). Use your vehicle manual for the exact behavior, but the concept is the same: start with a clean button.
Step 2: Train HomeLink using your handheld remote (the “learning” step)
This step teaches your car the remote’s signal.
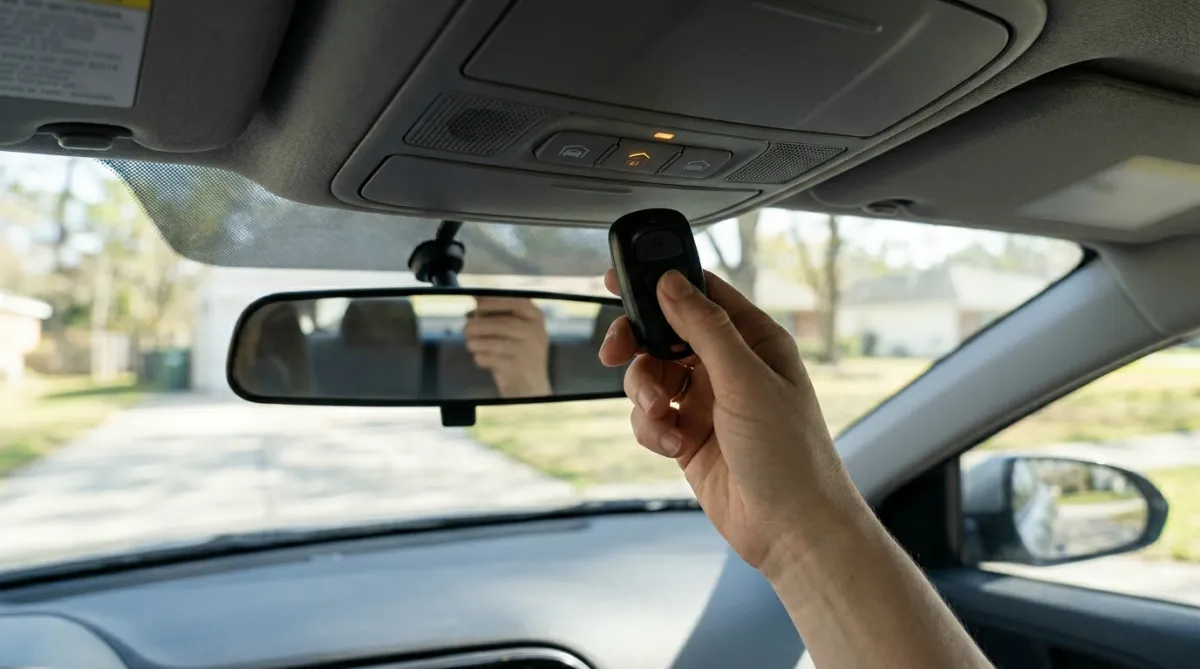
Hold the handheld remote close to the HomeLink area (often a few inches away—your manual will specify). Press and hold the handheld remote button and the HomeLink button at the same time until the HomeLink indicator changes (usually from slow blink to fast blink).
Once you get the “fast blink / success” behavior, HomeLink has learned the remote signal. Now move to the rolling-code step below.
Step 3: Rolling-code openers usually require the Learn button step
Most modern openers use rolling code security. HomeLink may learn the signal, but the opener still needs to “accept” it as a valid device.
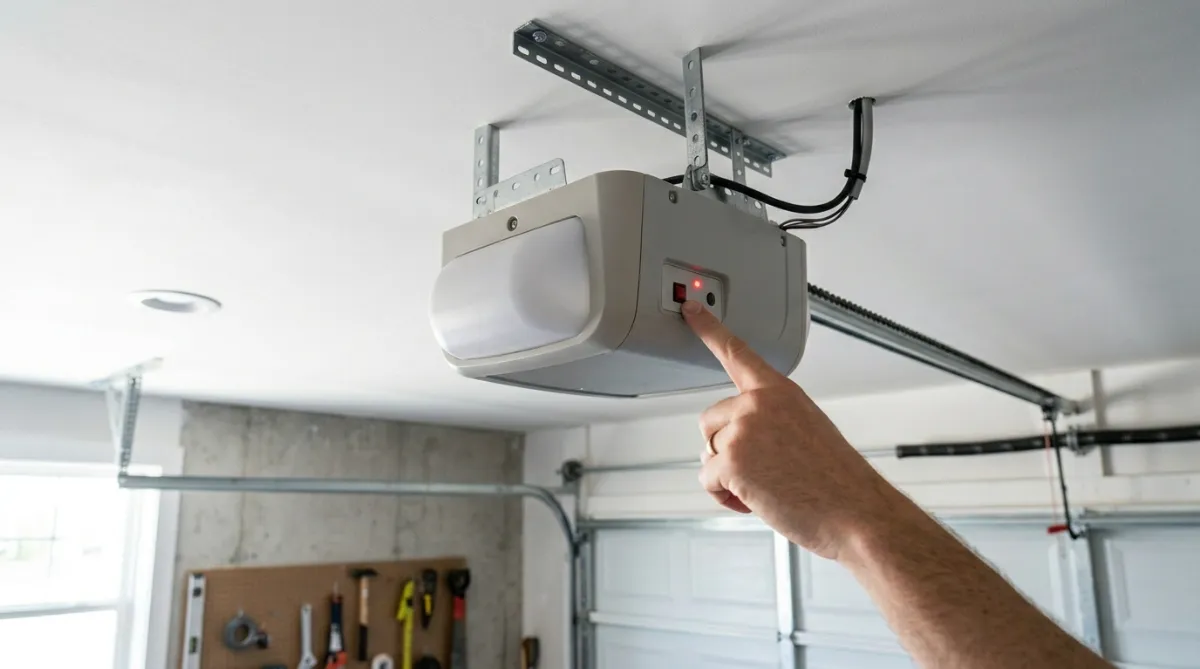
Go to your garage door opener motor unit (ceiling). Locate the Learn button (often behind the light cover or near the wiring terminals). Press and release Learn—this puts the opener into pairing mode for a short window (often ~30 seconds).
Now go back to the car and press the HomeLink button you programmed for 1–2 seconds, then release. Repeat that press a couple times if needed. Many openers confirm pairing with a light flash or click.
Then test the HomeLink button to open/close the door.
Step 4: If it won’t program, use these “real world” fixes
Fix A: Try a different distance and angle
Some cars prefer the remote very close; others work better with a few inches of distance. If you’re not getting the “fast blink,” change distance slightly and try again.
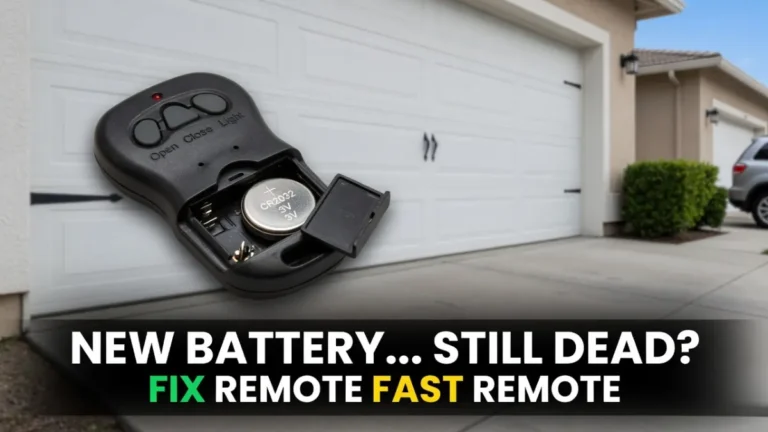
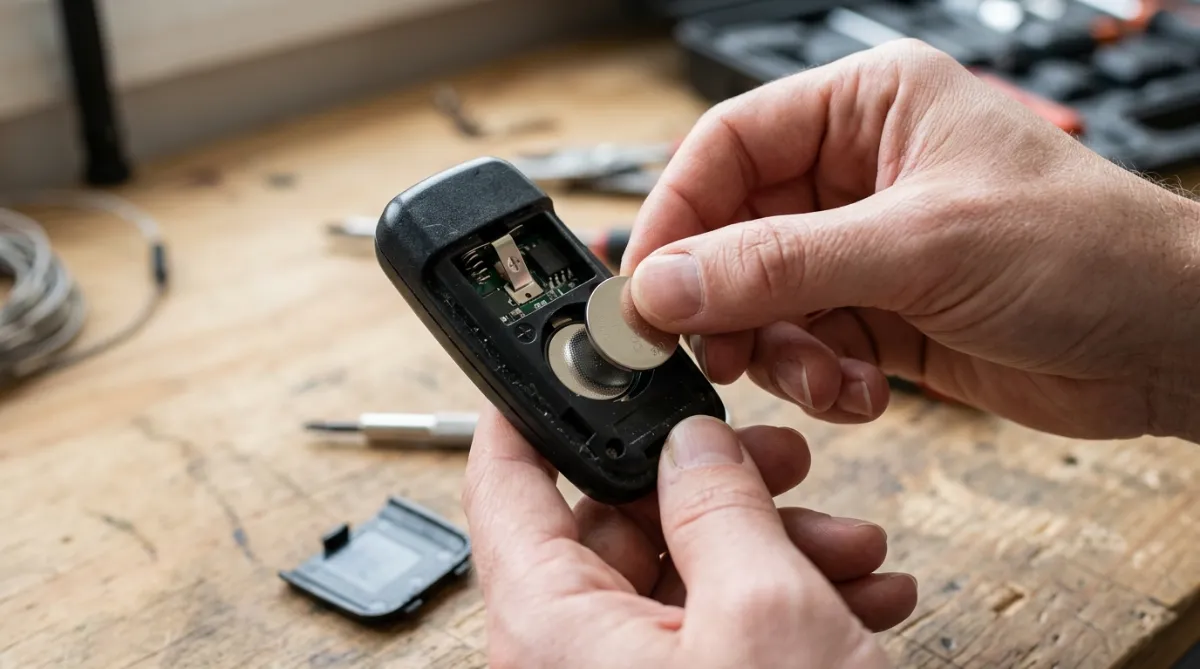
Fix B: Replace the handheld remote battery
A weak remote battery can still open the door, but it may not transmit strongly enough for HomeLink training. A fresh battery often makes training work immediately.
Fix C: Avoid LED interference while testing
If you’ve had remote range issues, bright LED bulbs near the opener can create interference. It’s not always the cause, but if you’re stuck, try testing when the opener light is off or swap to an opener-compatible LED.
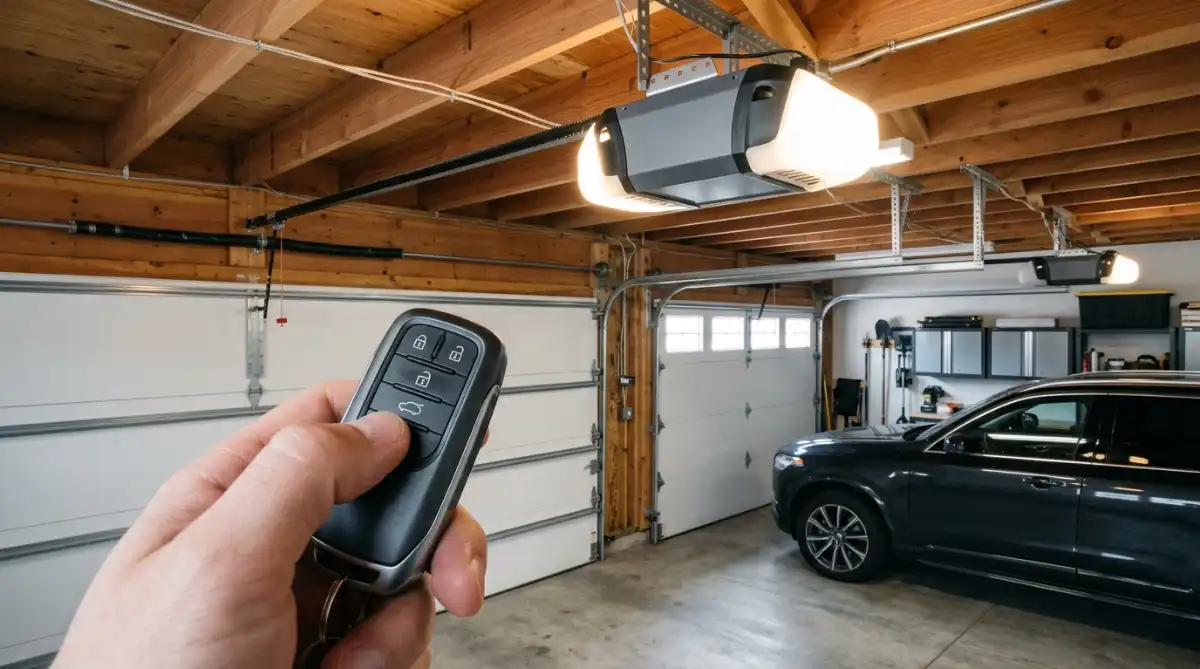
Fix D: Confirm you’re pressing the correct Learn button (and within the time window)
Learn mode timing matters. If you press Learn and then take too long, the opener stops listening. Press Learn again and retry quickly.
Fix E: If you use a universal remote, confirm compatibility
If the handheld remote is universal and only “sort of” works, HomeLink training can fail. Test with an original/brand-compatible remote if possible.
Step 5: What if HomeLink works for a week and then stops?
That usually points to:
- weak handheld remote battery during training (signal was borderline)
- interference/range issues
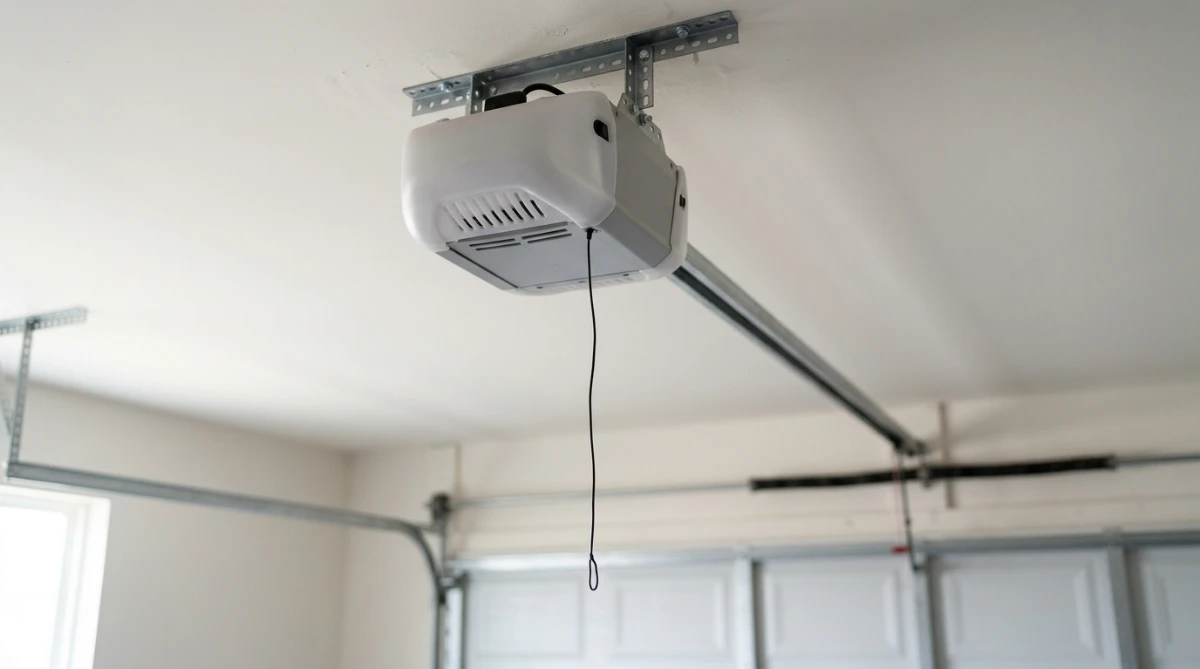
- opener antenna wire tucked up or damaged
In that situation, reprogram using a fresh remote battery and make sure the opener antenna wire is hanging down.
When to call a pro (or check the manual)
If you’ve tried training + Learn-button pairing several times and HomeLink still won’t operate the door, it may be a vehicle-specific procedure, a HomeLink version compatibility issue, or an opener receiver issue. Your car manual and opener manual can confirm the exact indicator meanings and steps.
FAQs
Do I always need to press the Learn button?
For many modern rolling-code openers, yes. HomeLink can learn the remote signal, but the opener still needs to accept it via Learn mode.
Why does HomeLink blink but the door doesn’t move?
Usually because the rolling-code pairing step wasn’t completed, or Learn mode timed out.
Should I program HomeLink with the garage door open or closed?
Either is fine, but keep the area clear and be ready for the door to move during testing.