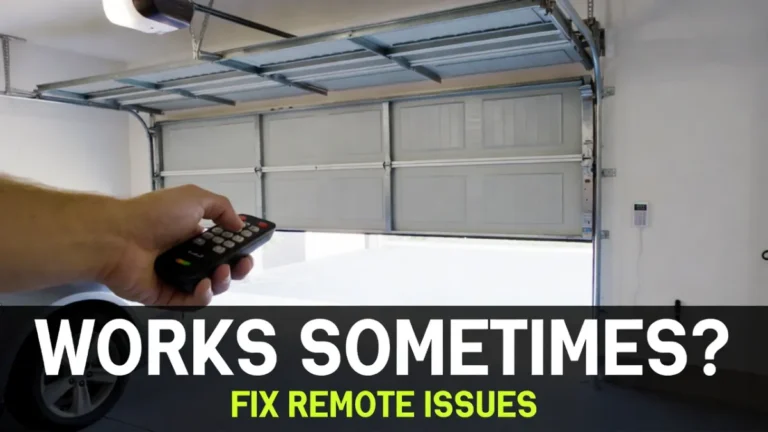
Garage Door Remote Not Working After Replacing the Battery: What to Check (Contacts, Pairing, Interference)
Garage Door Remote Not Working After Replacing the Battery: You replaced the remote battery, saw the little LED light up, and expected it to work—then nothing happened. If your garage door remote is still not working after a battery replacement, the good news is that it’s usually not a “dead opener.” Most of the time it’s one of a few practical issues: the battery isn’t making good contact, lock mode is enabled, interference is killing the signal, or the remote needs to be reprogrammed.
This guide walks through the checks in the fastest order.
Safety note: This is remote troubleshooting. You’re not touching springs/cables or door hardware under tension.
Quick answer: the most common causes
When a new battery doesn’t fix the remote, these are the top suspects:
- Battery installed wrong or the battery type is incorrect
- Battery contacts are dirty/bent, so the remote gets power inconsistently
- Wall control is in Lock/Vacation mode (remotes disabled)
- LED bulb interference is blocking the remote signal (range drops to near zero)
- Remote lost pairing and needs reprogramming using the Learn button
- Remote is worn out (button failure) or incompatible
Step 1: Confirm the opener works from the wall button
Before you focus on the remote, confirm the opener and door still work normally.
Press the wall button inside the garage:
- If the door works from the wall button, your opener and door are likely fine. Keep troubleshooting the remote.
- If the wall button doesn’t work either, the problem isn’t the remote battery. Check power/GFCI/outlet.
This prevents wasted time.
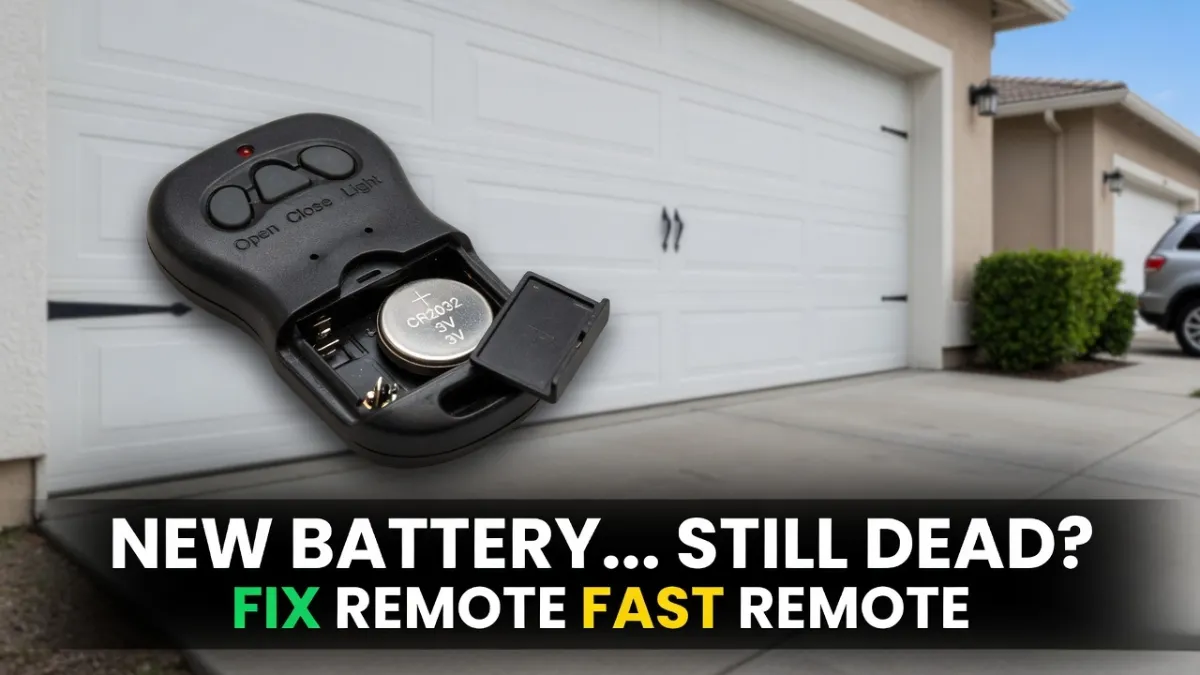
Step 2: Double-check the battery install (it’s easy to flip)
Even experienced people install coin batteries upside down sometimes.
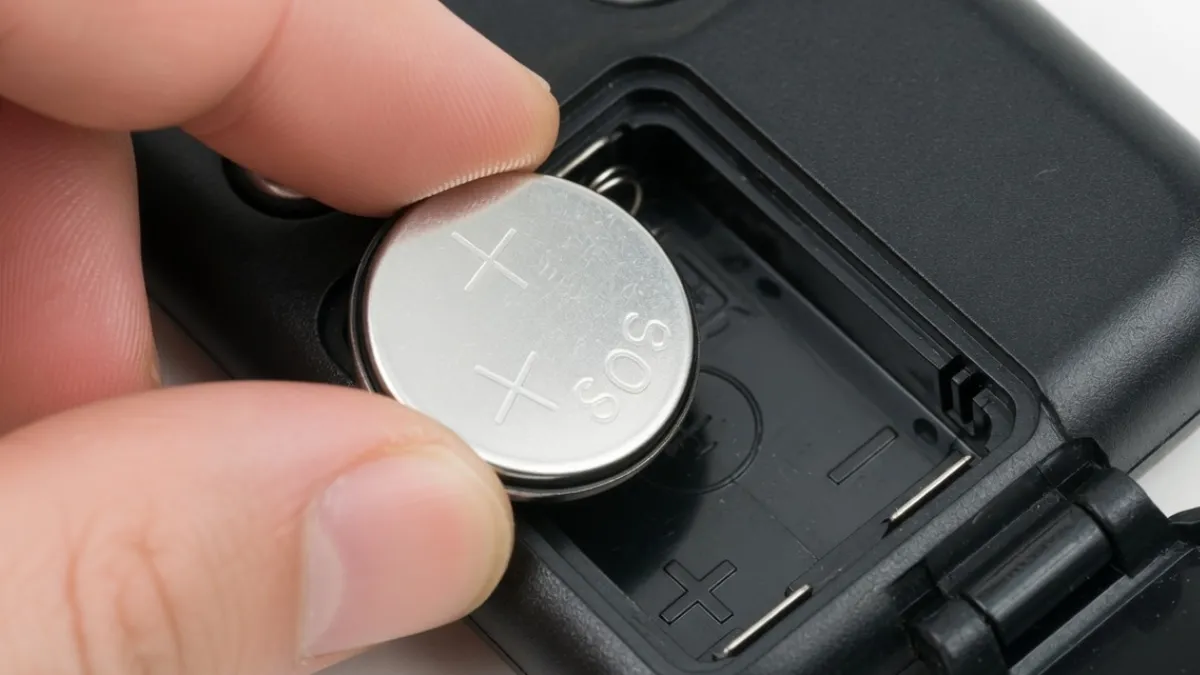
Open the remote again and confirm:
- the battery is the correct type (match what the remote requires)
- polarity (+/–) is correct
- the battery sits flat and snug
If the remote LED is dim or inconsistent when you press buttons, that points right back to battery/contact issues.
Step 3: Clean and tighten battery contacts (very common)
A remote can show a light but still fail because the battery isn’t making firm contact.
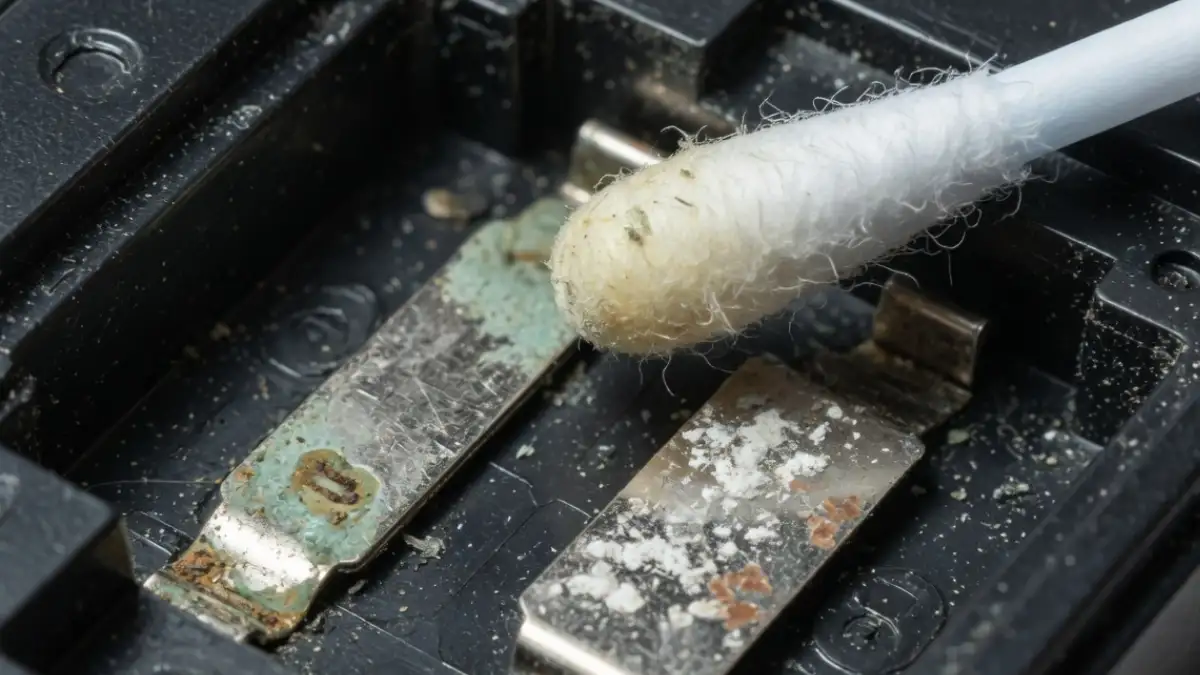
Look for:
- dust or residue on the metal contacts
- contacts bent flat (not pressing hard enough)
- corrosion (white/green residue)
Wipe contacts gently with a dry cloth or cotton swab. If a contact looks flattened, carefully bend it slightly so it presses the battery firmly.
Then test again near the garage.
Step 4: Check Lock/Vacation mode on the wall control
If Lock mode is enabled, the remote won’t work—even with a perfect battery—while the wall button may still work.
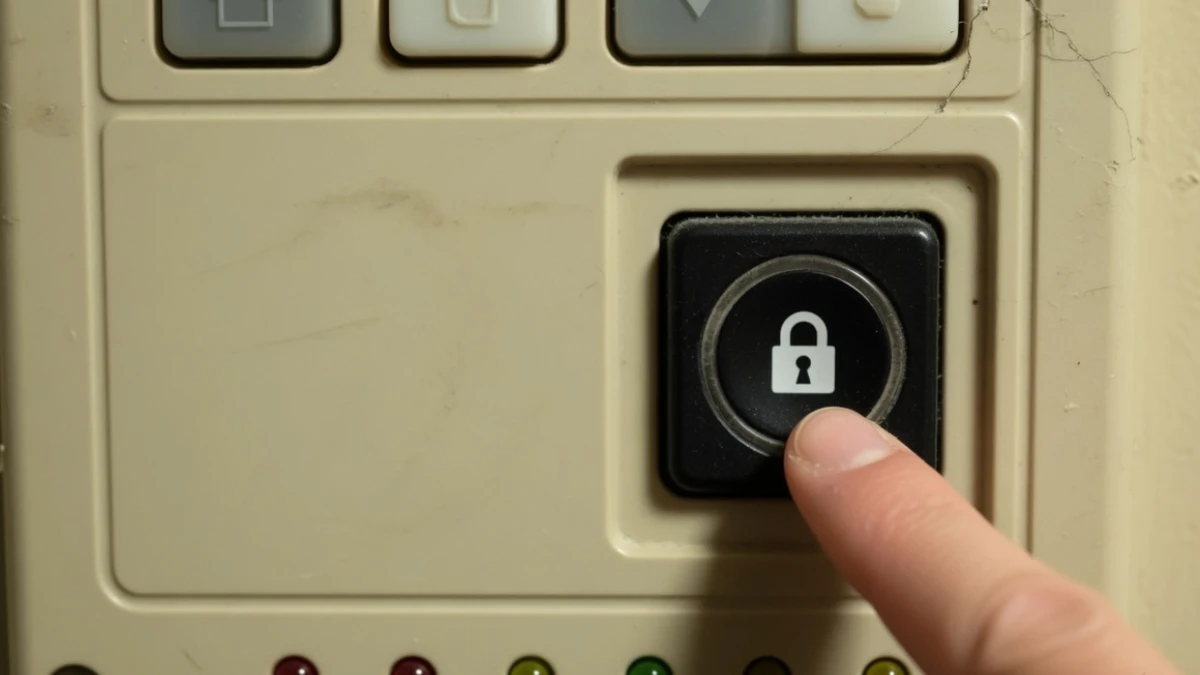
Look for a LOCK button or lock indicator on your wall console. Turn lock mode off and test the remote again.
This step alone solves a lot of “remote suddenly died” situations.
Step 5: Test from very close range (range vs pairing)
Stand 3–6 feet from the opener and try the remote.
- If it works only up close, you likely have interference or an antenna/range problem.
- If it still doesn’t work close up, pairing or remote failure is more likely.
This simple test tells you where to focus next.
Step 6: LED bulb interference (big hidden cause)
If you recently changed the opener bulb, installed bright LEDs, or upgraded garage lighting, you might be dealing with radio interference. Some LED bulbs produce noise that blocks remote signals.
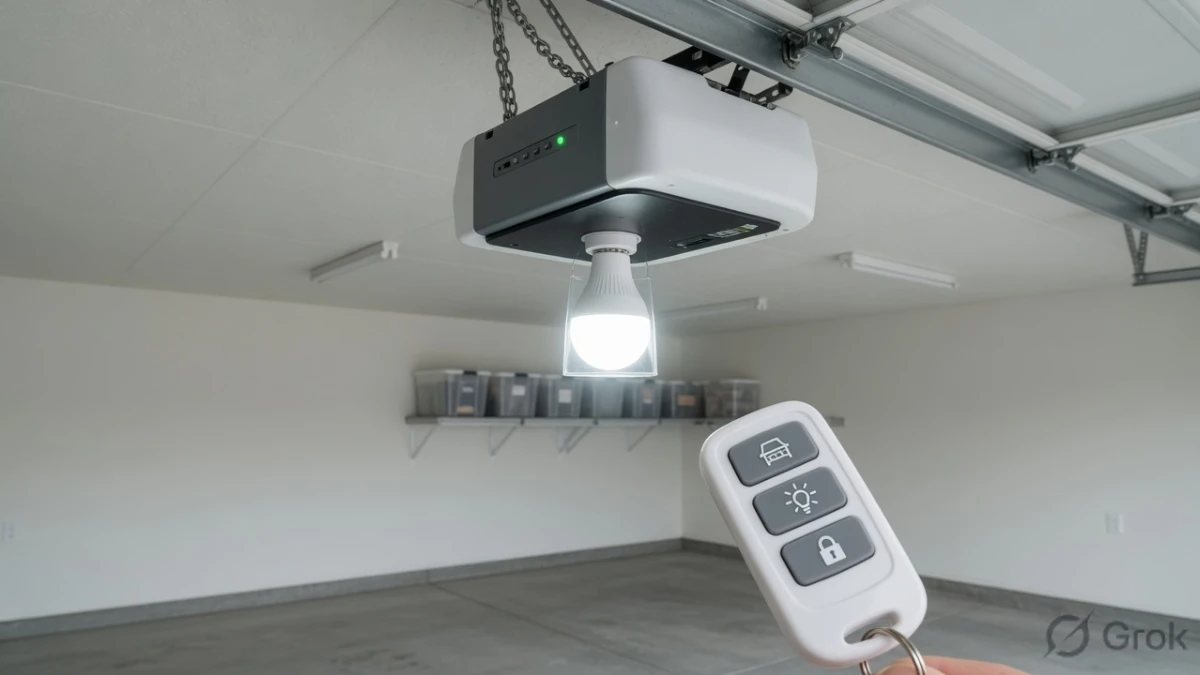
A quick test:
- Try the remote when the opener light is OFF.
- Then try again when the opener light is ON.
If the remote works better with the light off, replace the bulb with a garage-door-opener-compatible LED or test with a different bulb type. Also consider other LED shop lights in the garage.
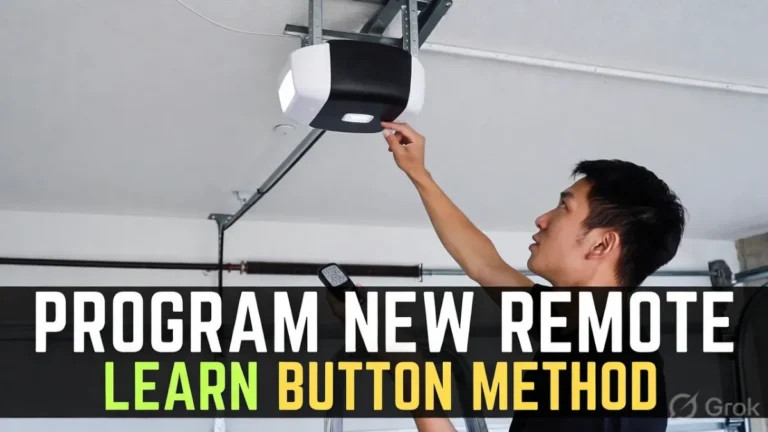
Step 7: Reprogram the remote (Learn button method)
If contacts and lock mode are fine and the remote still doesn’t work, it may have lost pairing—especially if the opener was reset or memory was cleared.
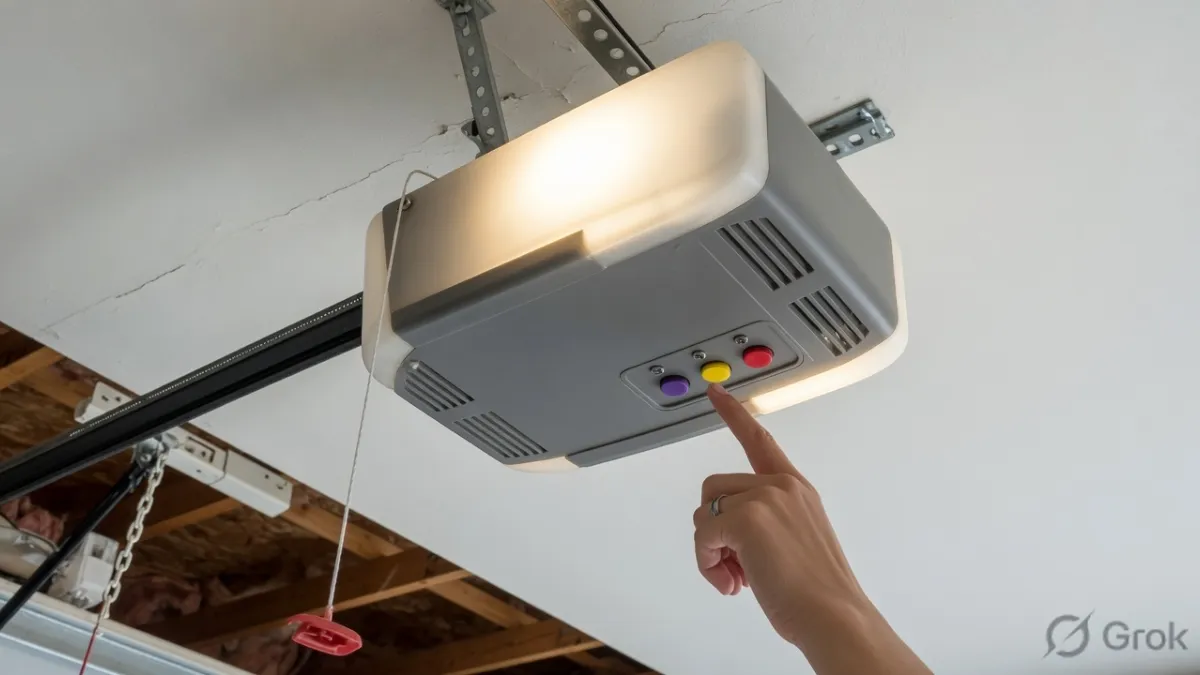
General method:
- Find the Learn button on the opener motor unit.
- Press and release Learn (indicator usually turns on briefly).
- Press the remote button you want to program.
- Wait for confirmation (light flash/click), then test.
Because models vary, follow your manual for exact steps, but this method is very common across modern openers.
Step 8: If nothing works, consider remote failure or compatibility
If you’ve confirmed:
- wall button works
- lock mode is off
- contacts are clean and battery is correct
- pairing fails repeatedly
…then the remote may be incompatible or failing internally. Buttons wear out, and some remotes don’t match certain opener types.
If you’re using a universal remote, refer to your universal remote compatibility guide post.
FAQs
Why doesn’t my remote work even after a new battery?
Usually because battery contacts are dirty/loose, lock mode is on, LED interference is blocking the signal, or the remote needs reprogramming.
Do I have to reprogram the remote after changing the battery?
Usually no. But if the opener memory was cleared or pairing was weak, reprogramming may be needed.
My remote works only when I’m right next to the door—what does that mean?
That’s usually interference (often LED bulbs) or antenna/range issues.